Category

Food

Category

Hi All!

Hope everyone is having a good week! Mine has been a little hectic, but it’s almost over! And today I am back to share one of my family’s favorite recipes: Pumpkin Chocolate Chip Cookies!

Growing up, fall just wouldn’t have been fall without smelling these cookies baking up in my house each year. A heavenly aroma of sugar cookies with hints of pumpkin and cinnamon that simply tickle the senses and make me so happy! My mom would bake these all the time when I was little and now that I’m an adult, I make them year after year too.

This cookie is essentially a seasonal enhancement to the classic chocolate chip. The pumpkin and cinnamon add autumn flair and the end result is a delicious fall cookie that is not too overpowering in pumpkin flavor. They are also fairly easy to make from scratch and bake up super soft and delicious!

One bite and you will easily win everyone over, even those who claim to not be into pumpkin spice. And for those of you who already are pumpkin lovers, then you can rejoice with delight!🎃

So let’s get on to the recipe with some pictures!

Pumpkin Chocolate Chip Cookies

Ingredients:

1 cup sugar

1 cup canned pumpkin

½ cup oil

1 egg

2 cups flour

½ tsp. salt

1 tsp. cinnamon

2 tsp. baking powder

1 tsp. baking soda

1 tsp. milk

1 tsp. vanilla

1 cup chocolate chips

Directions:

Preheat oven to 375°.

Lightly grease cookie sheets.

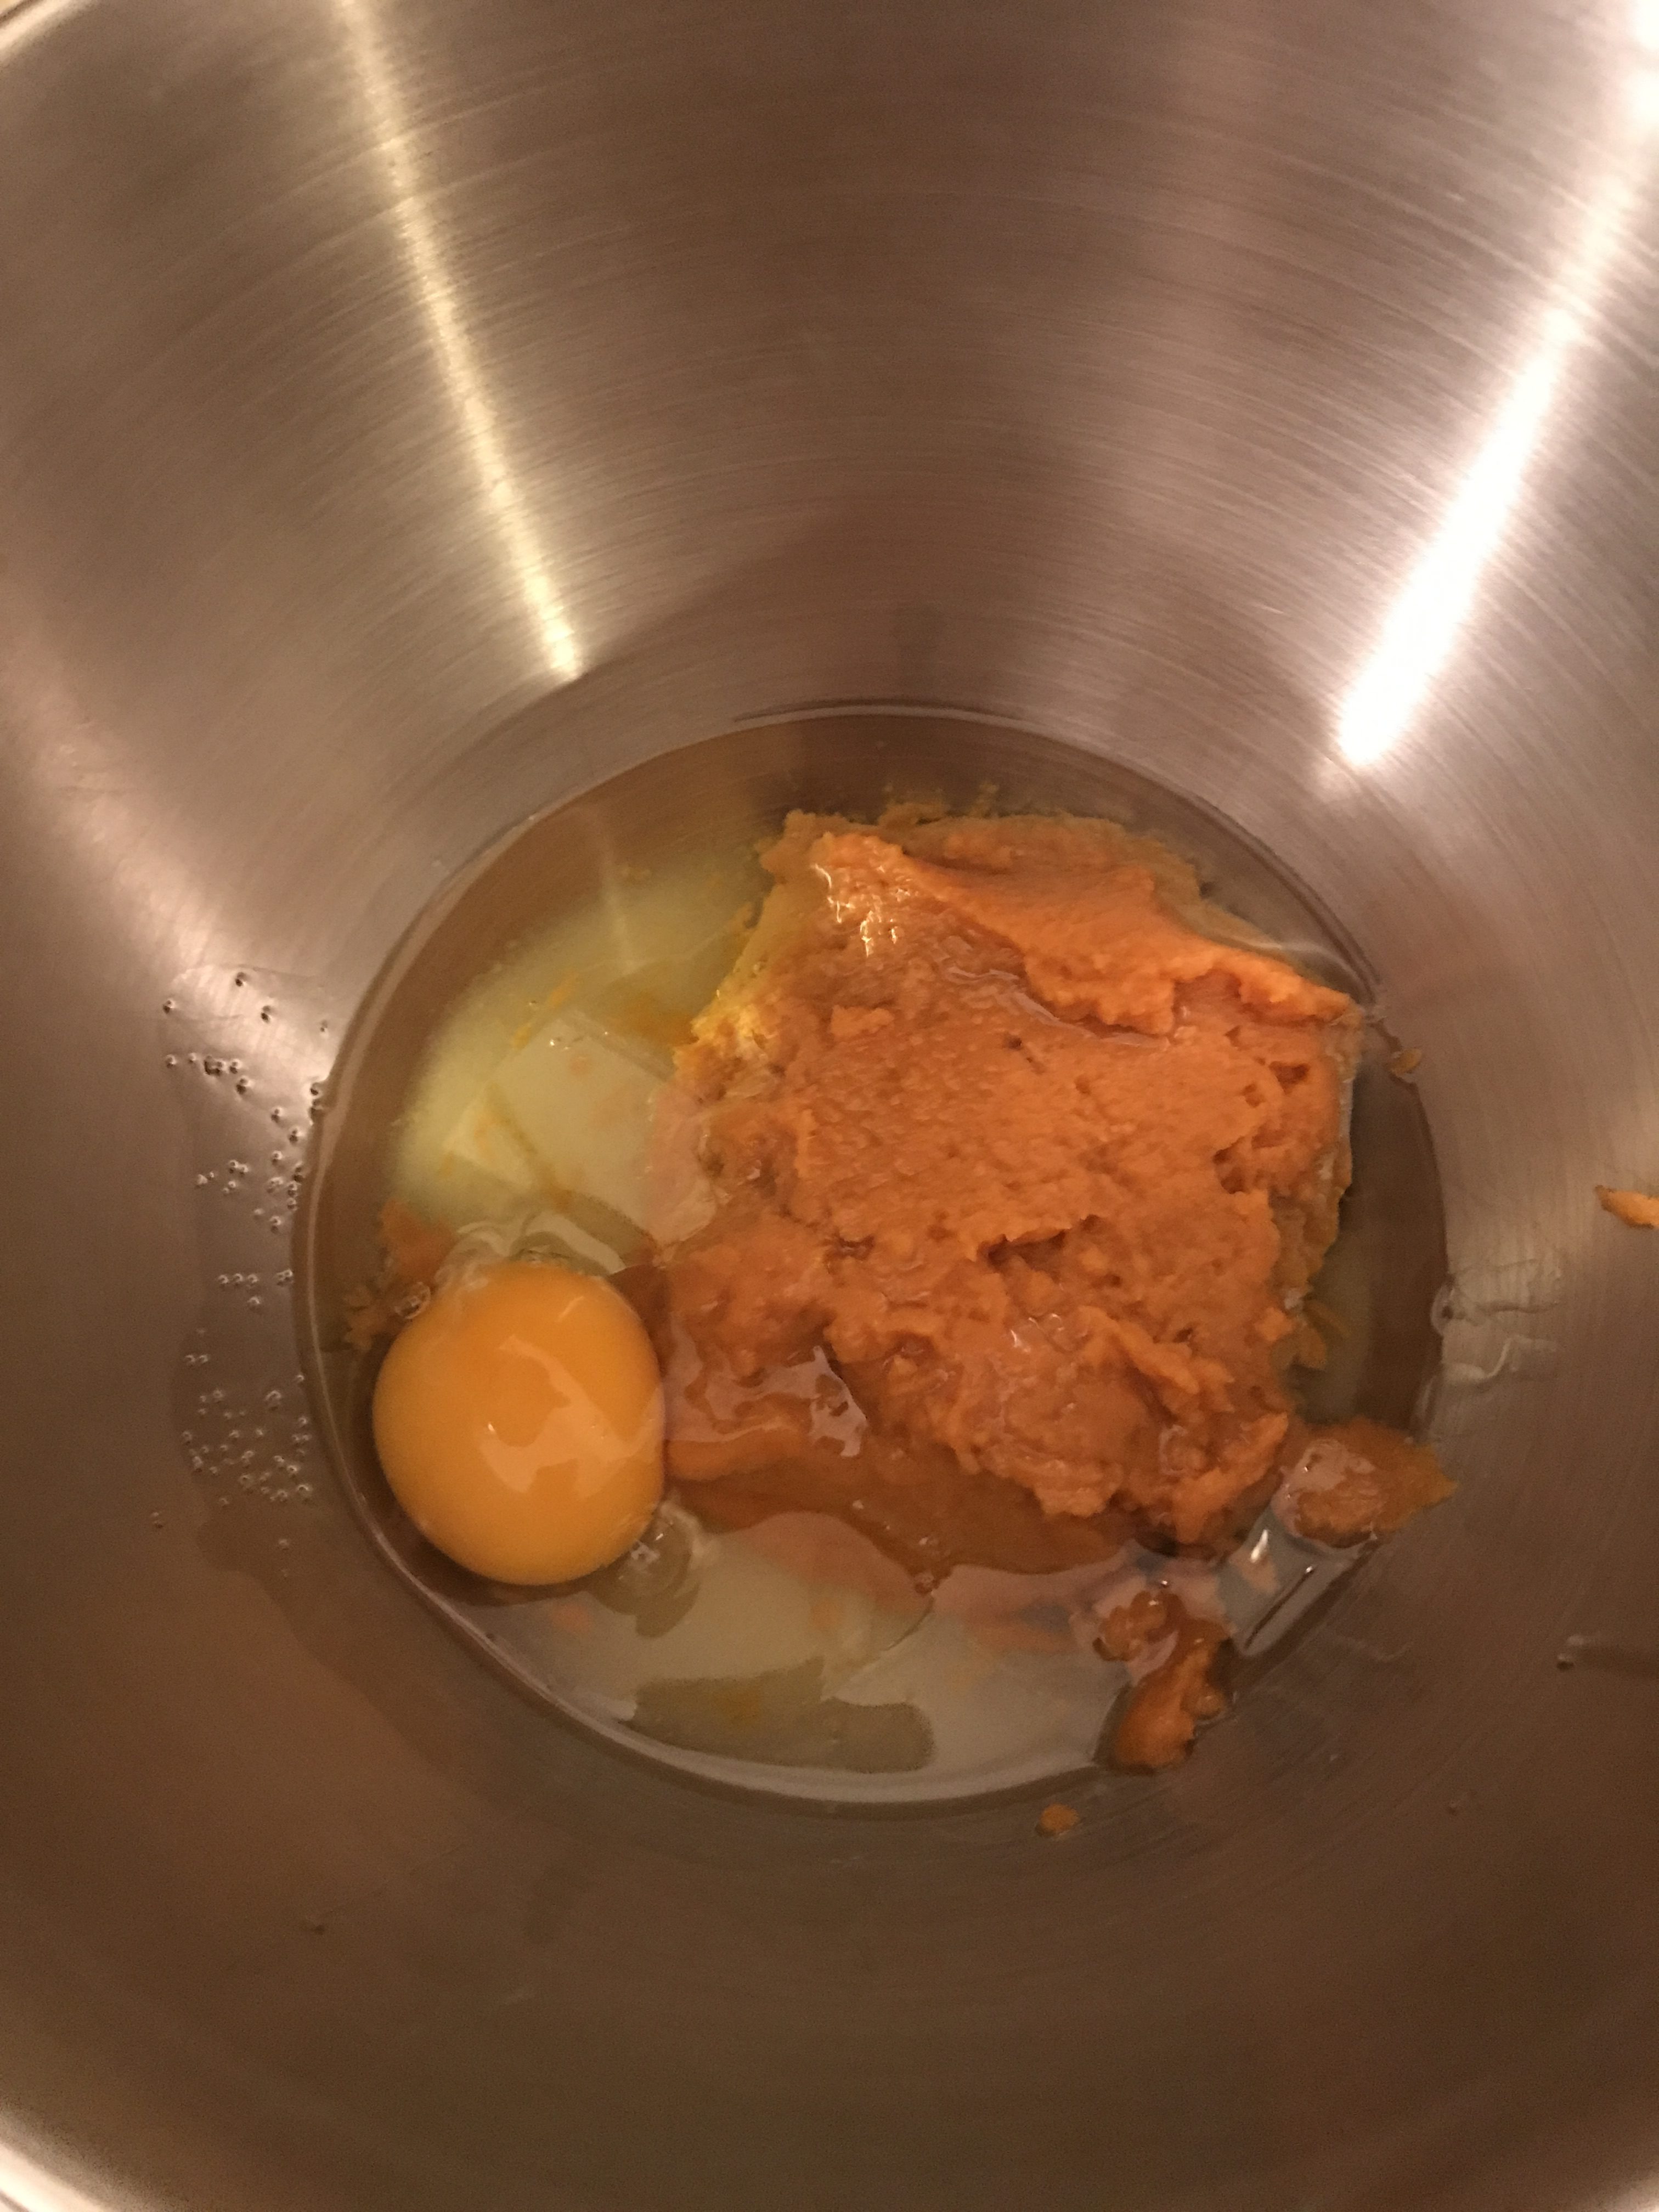
Mix together the pumpkin, sugar, oil, and egg in either a stand up mixer or with a hand held mixer.
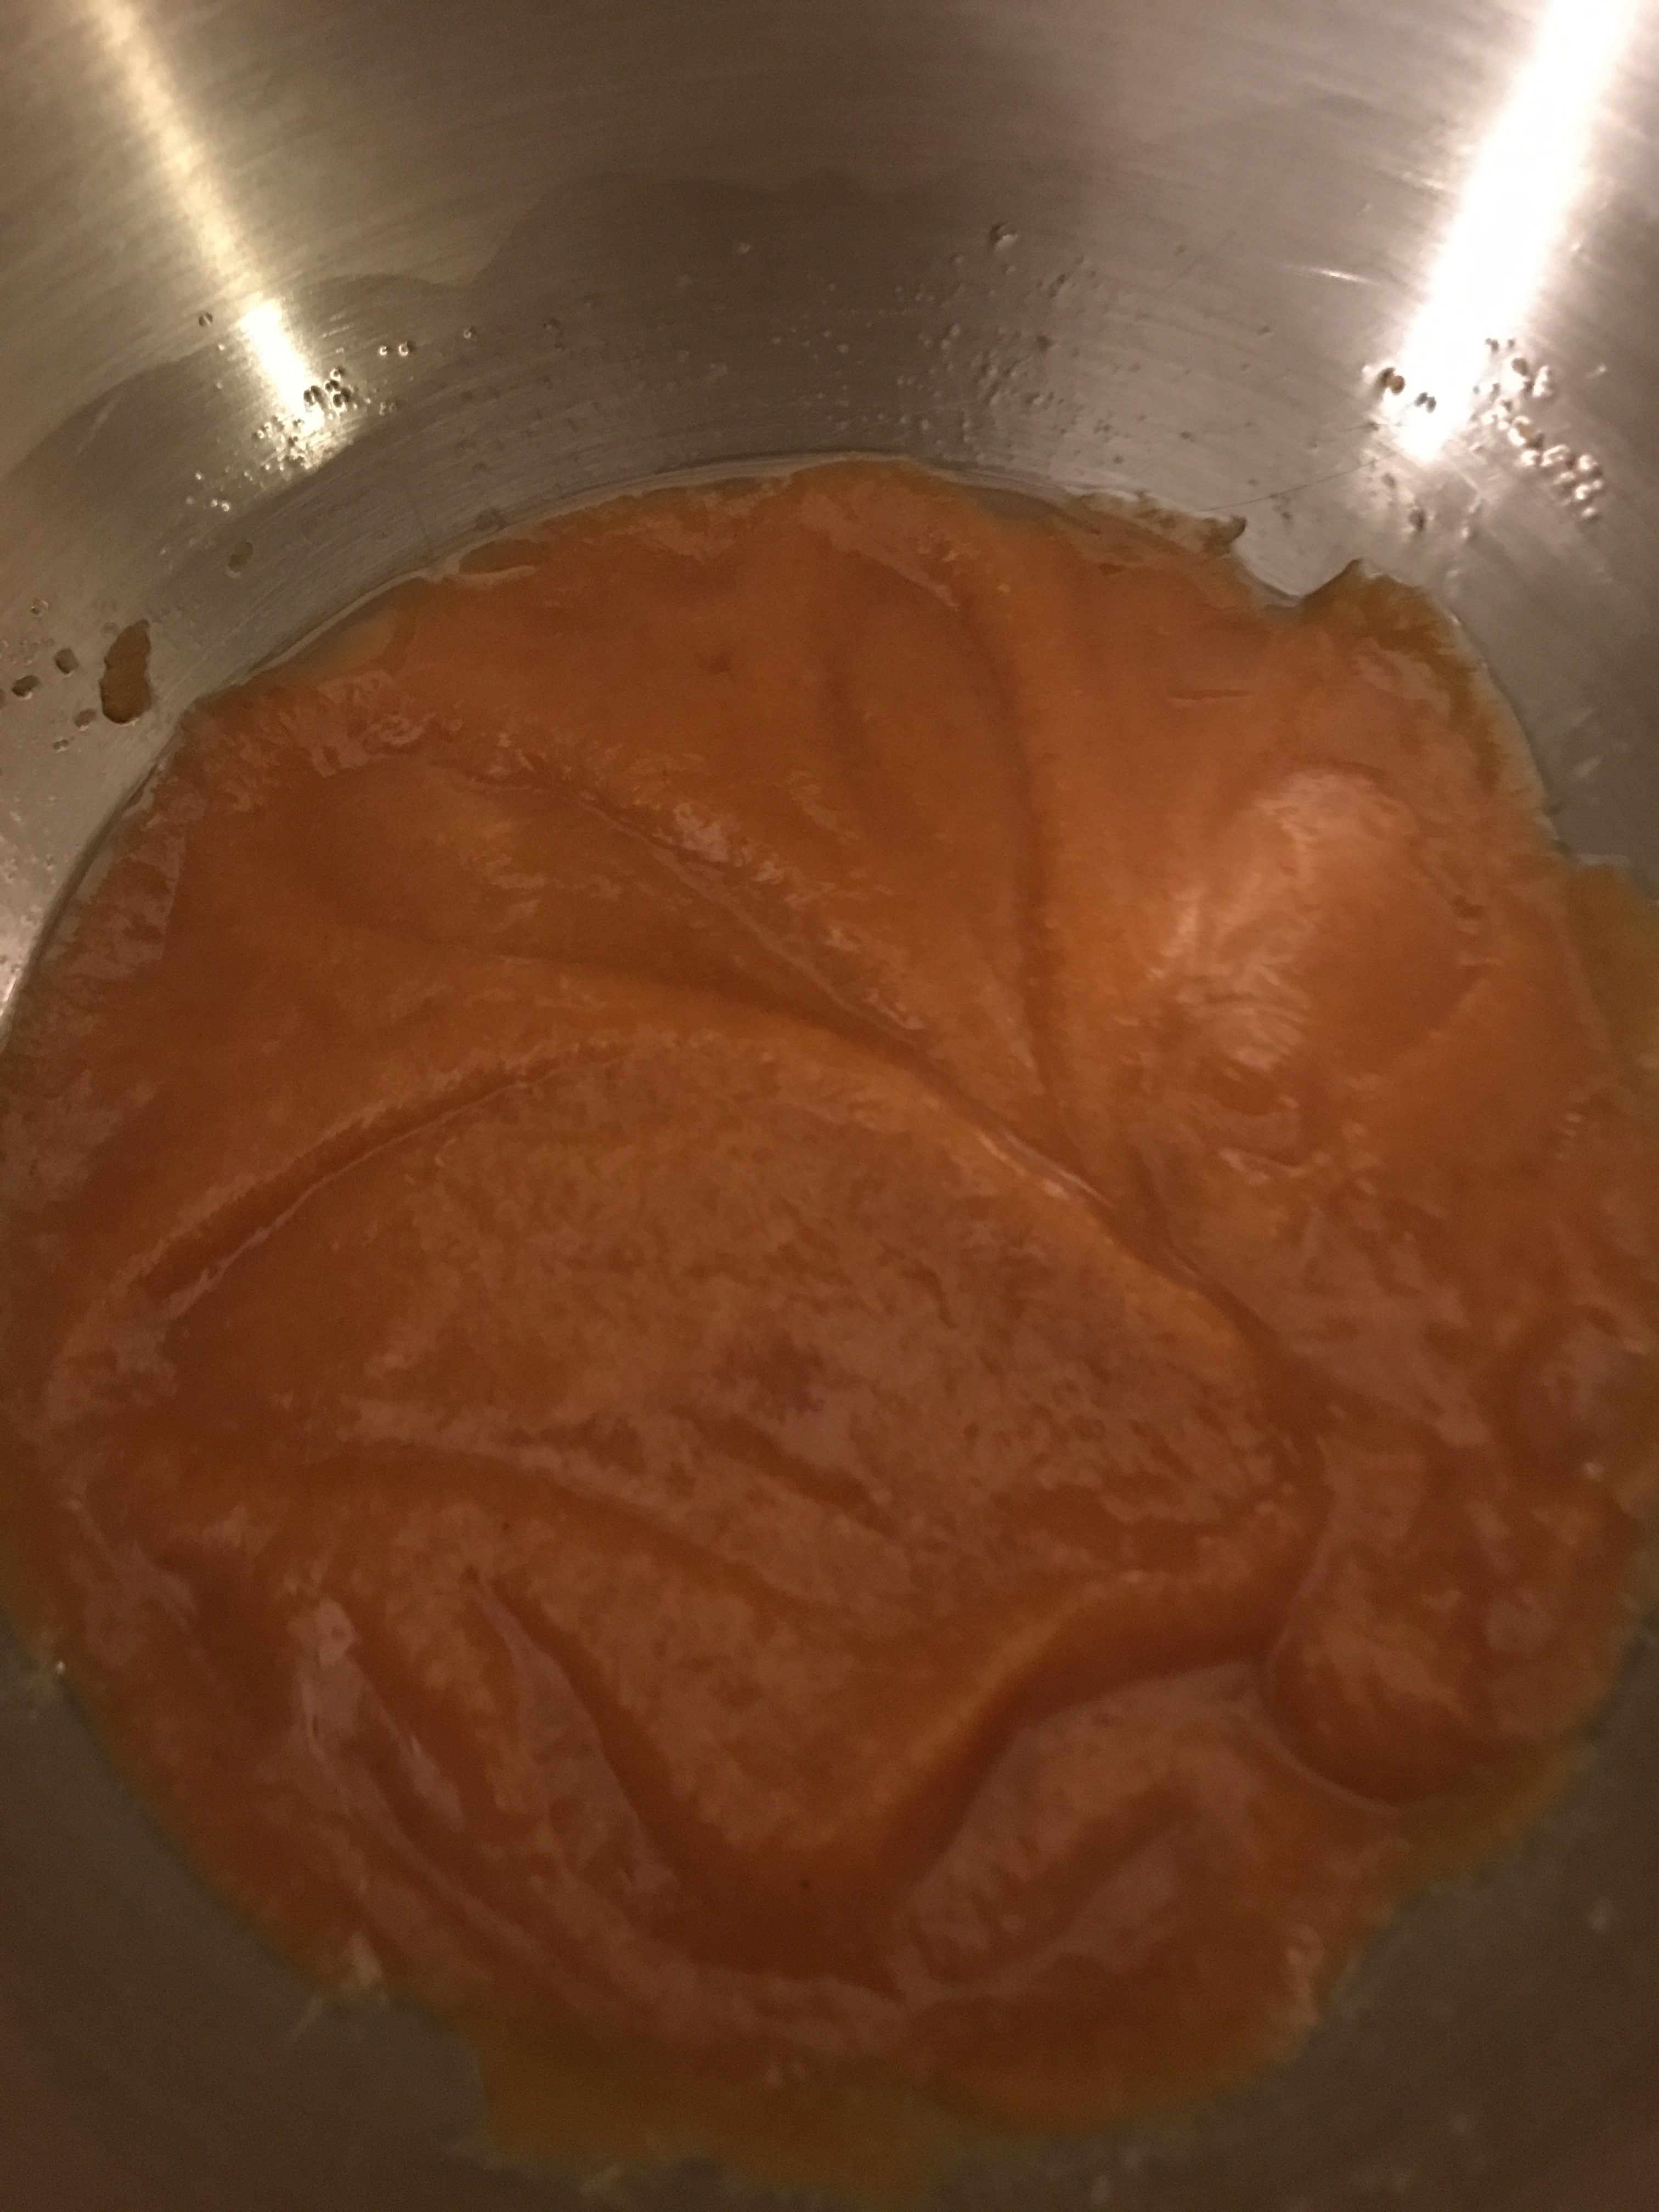
 

Well blended.


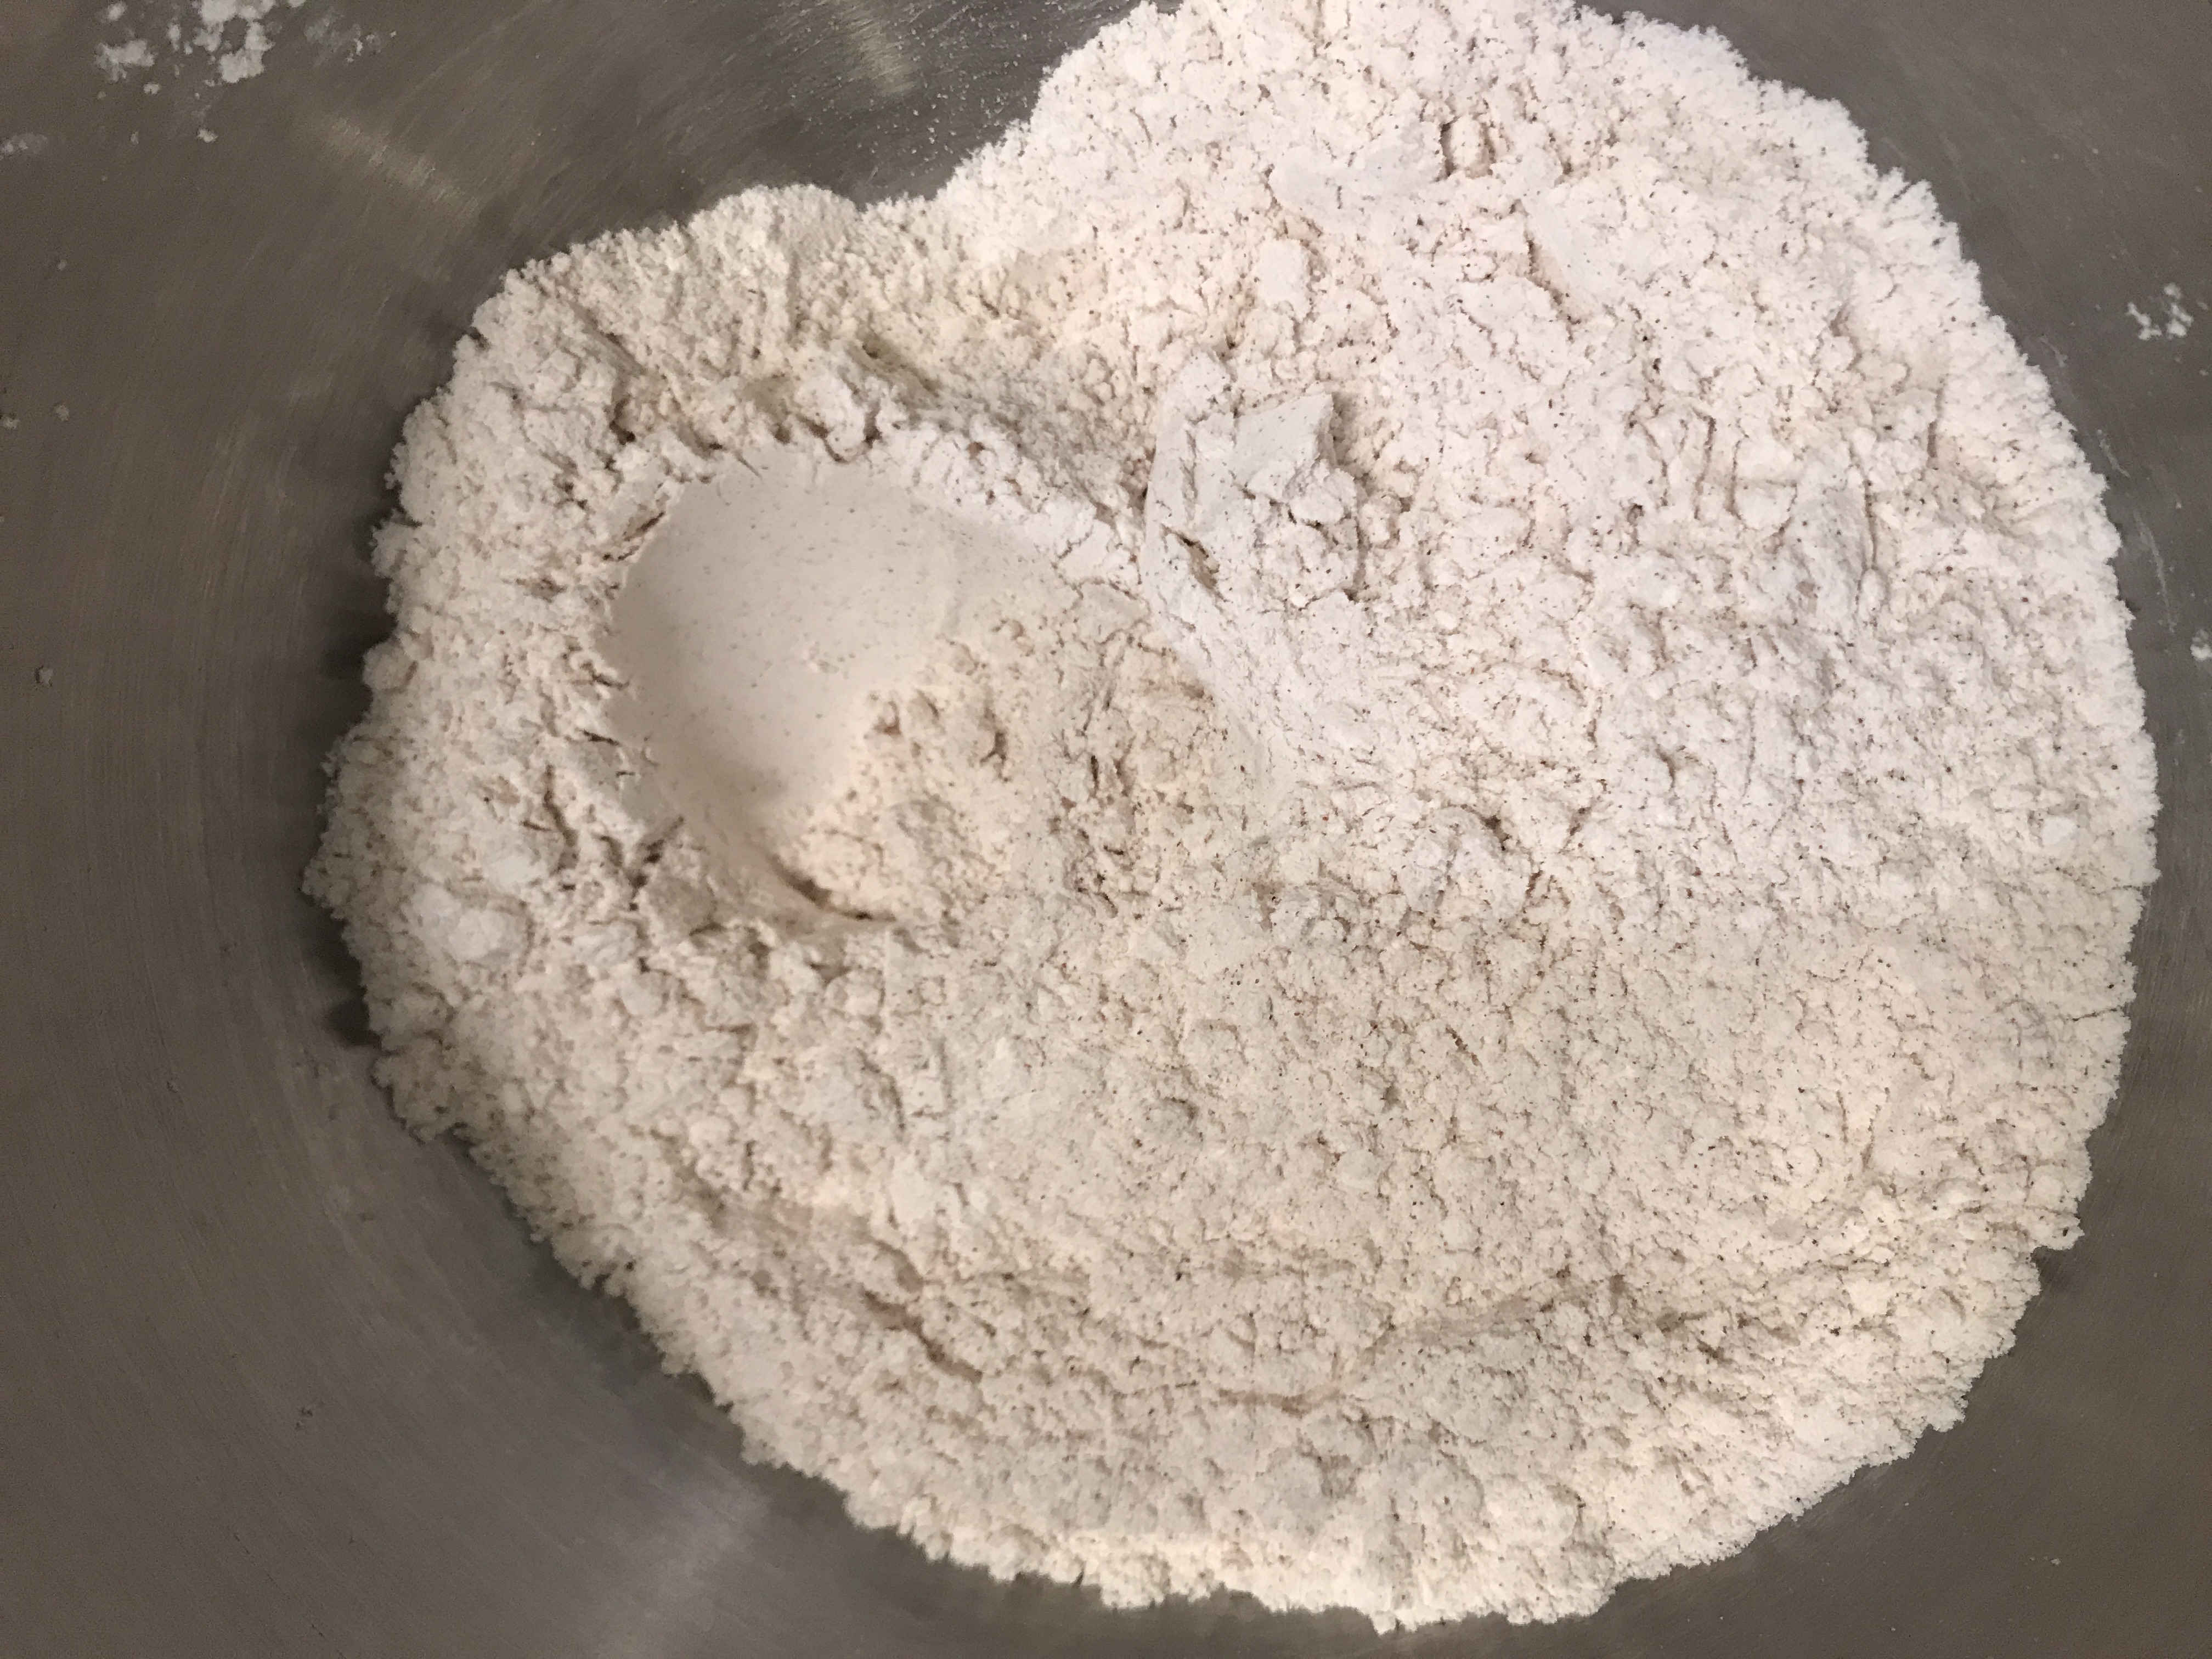
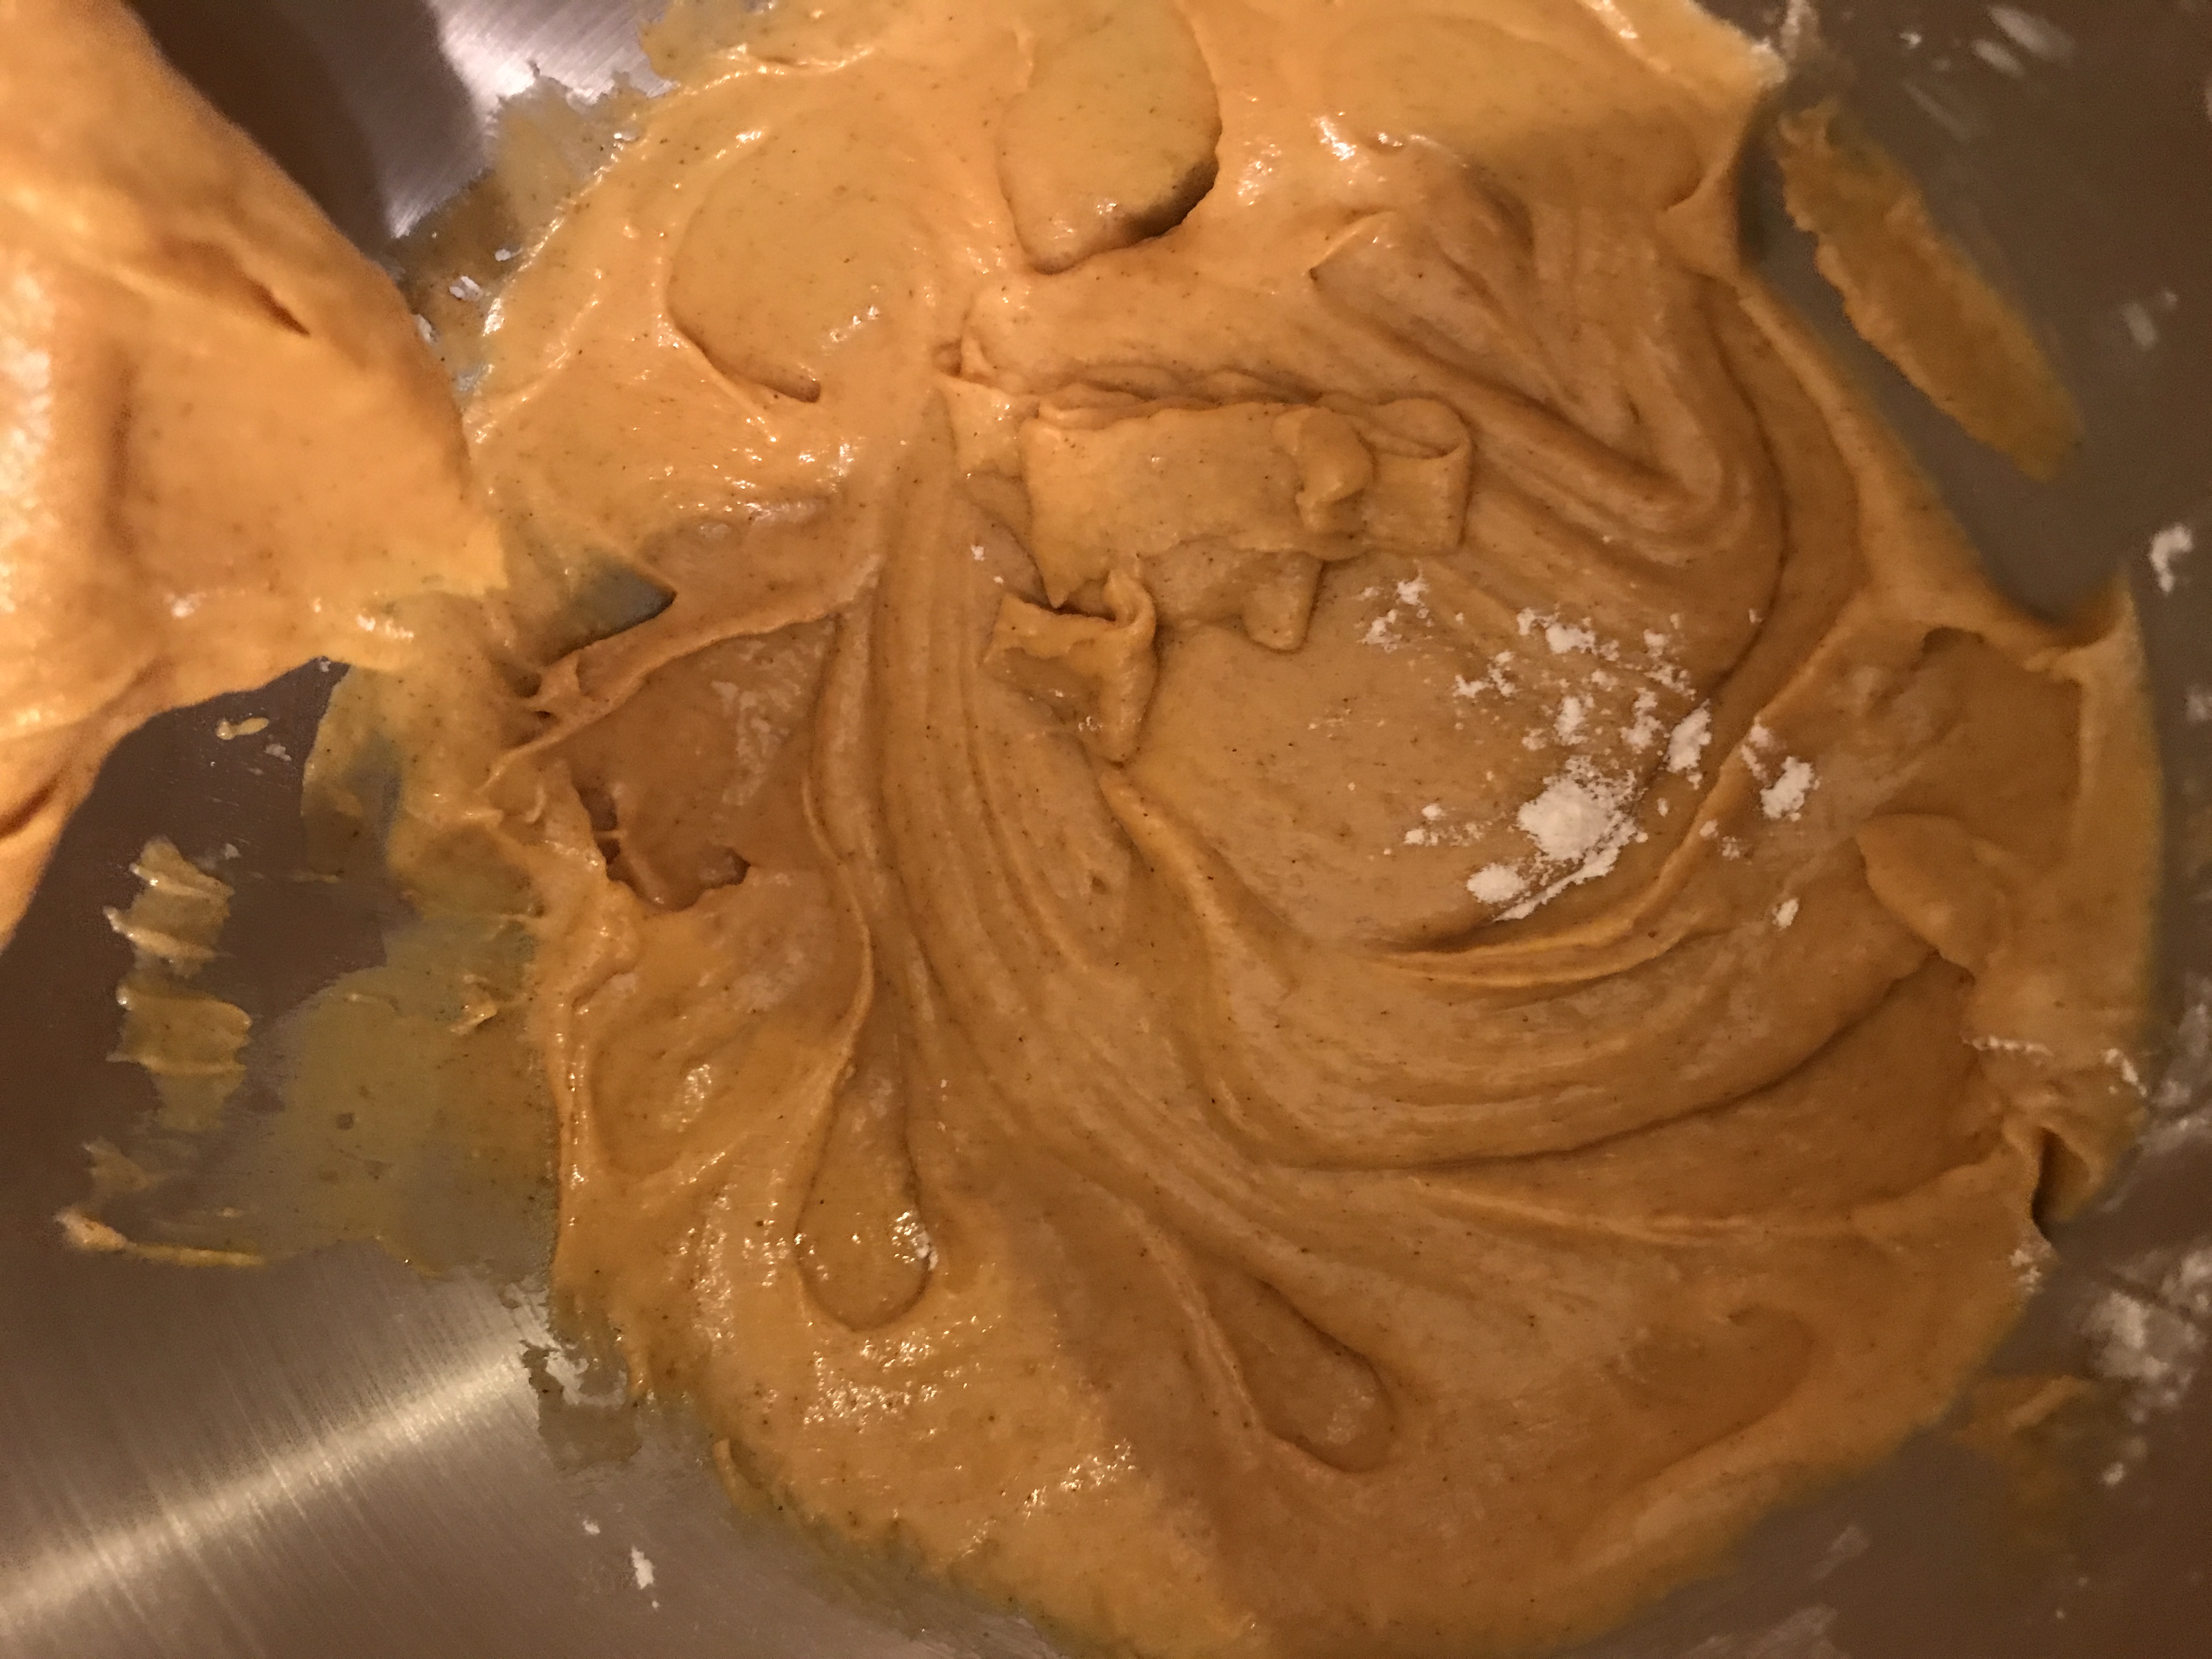
In a separate bowl, sift together the flour, salt, cinnamon, & baking powder. Then add to pumpkin mixture.


Flour mixture & pumpkin mixture combined.


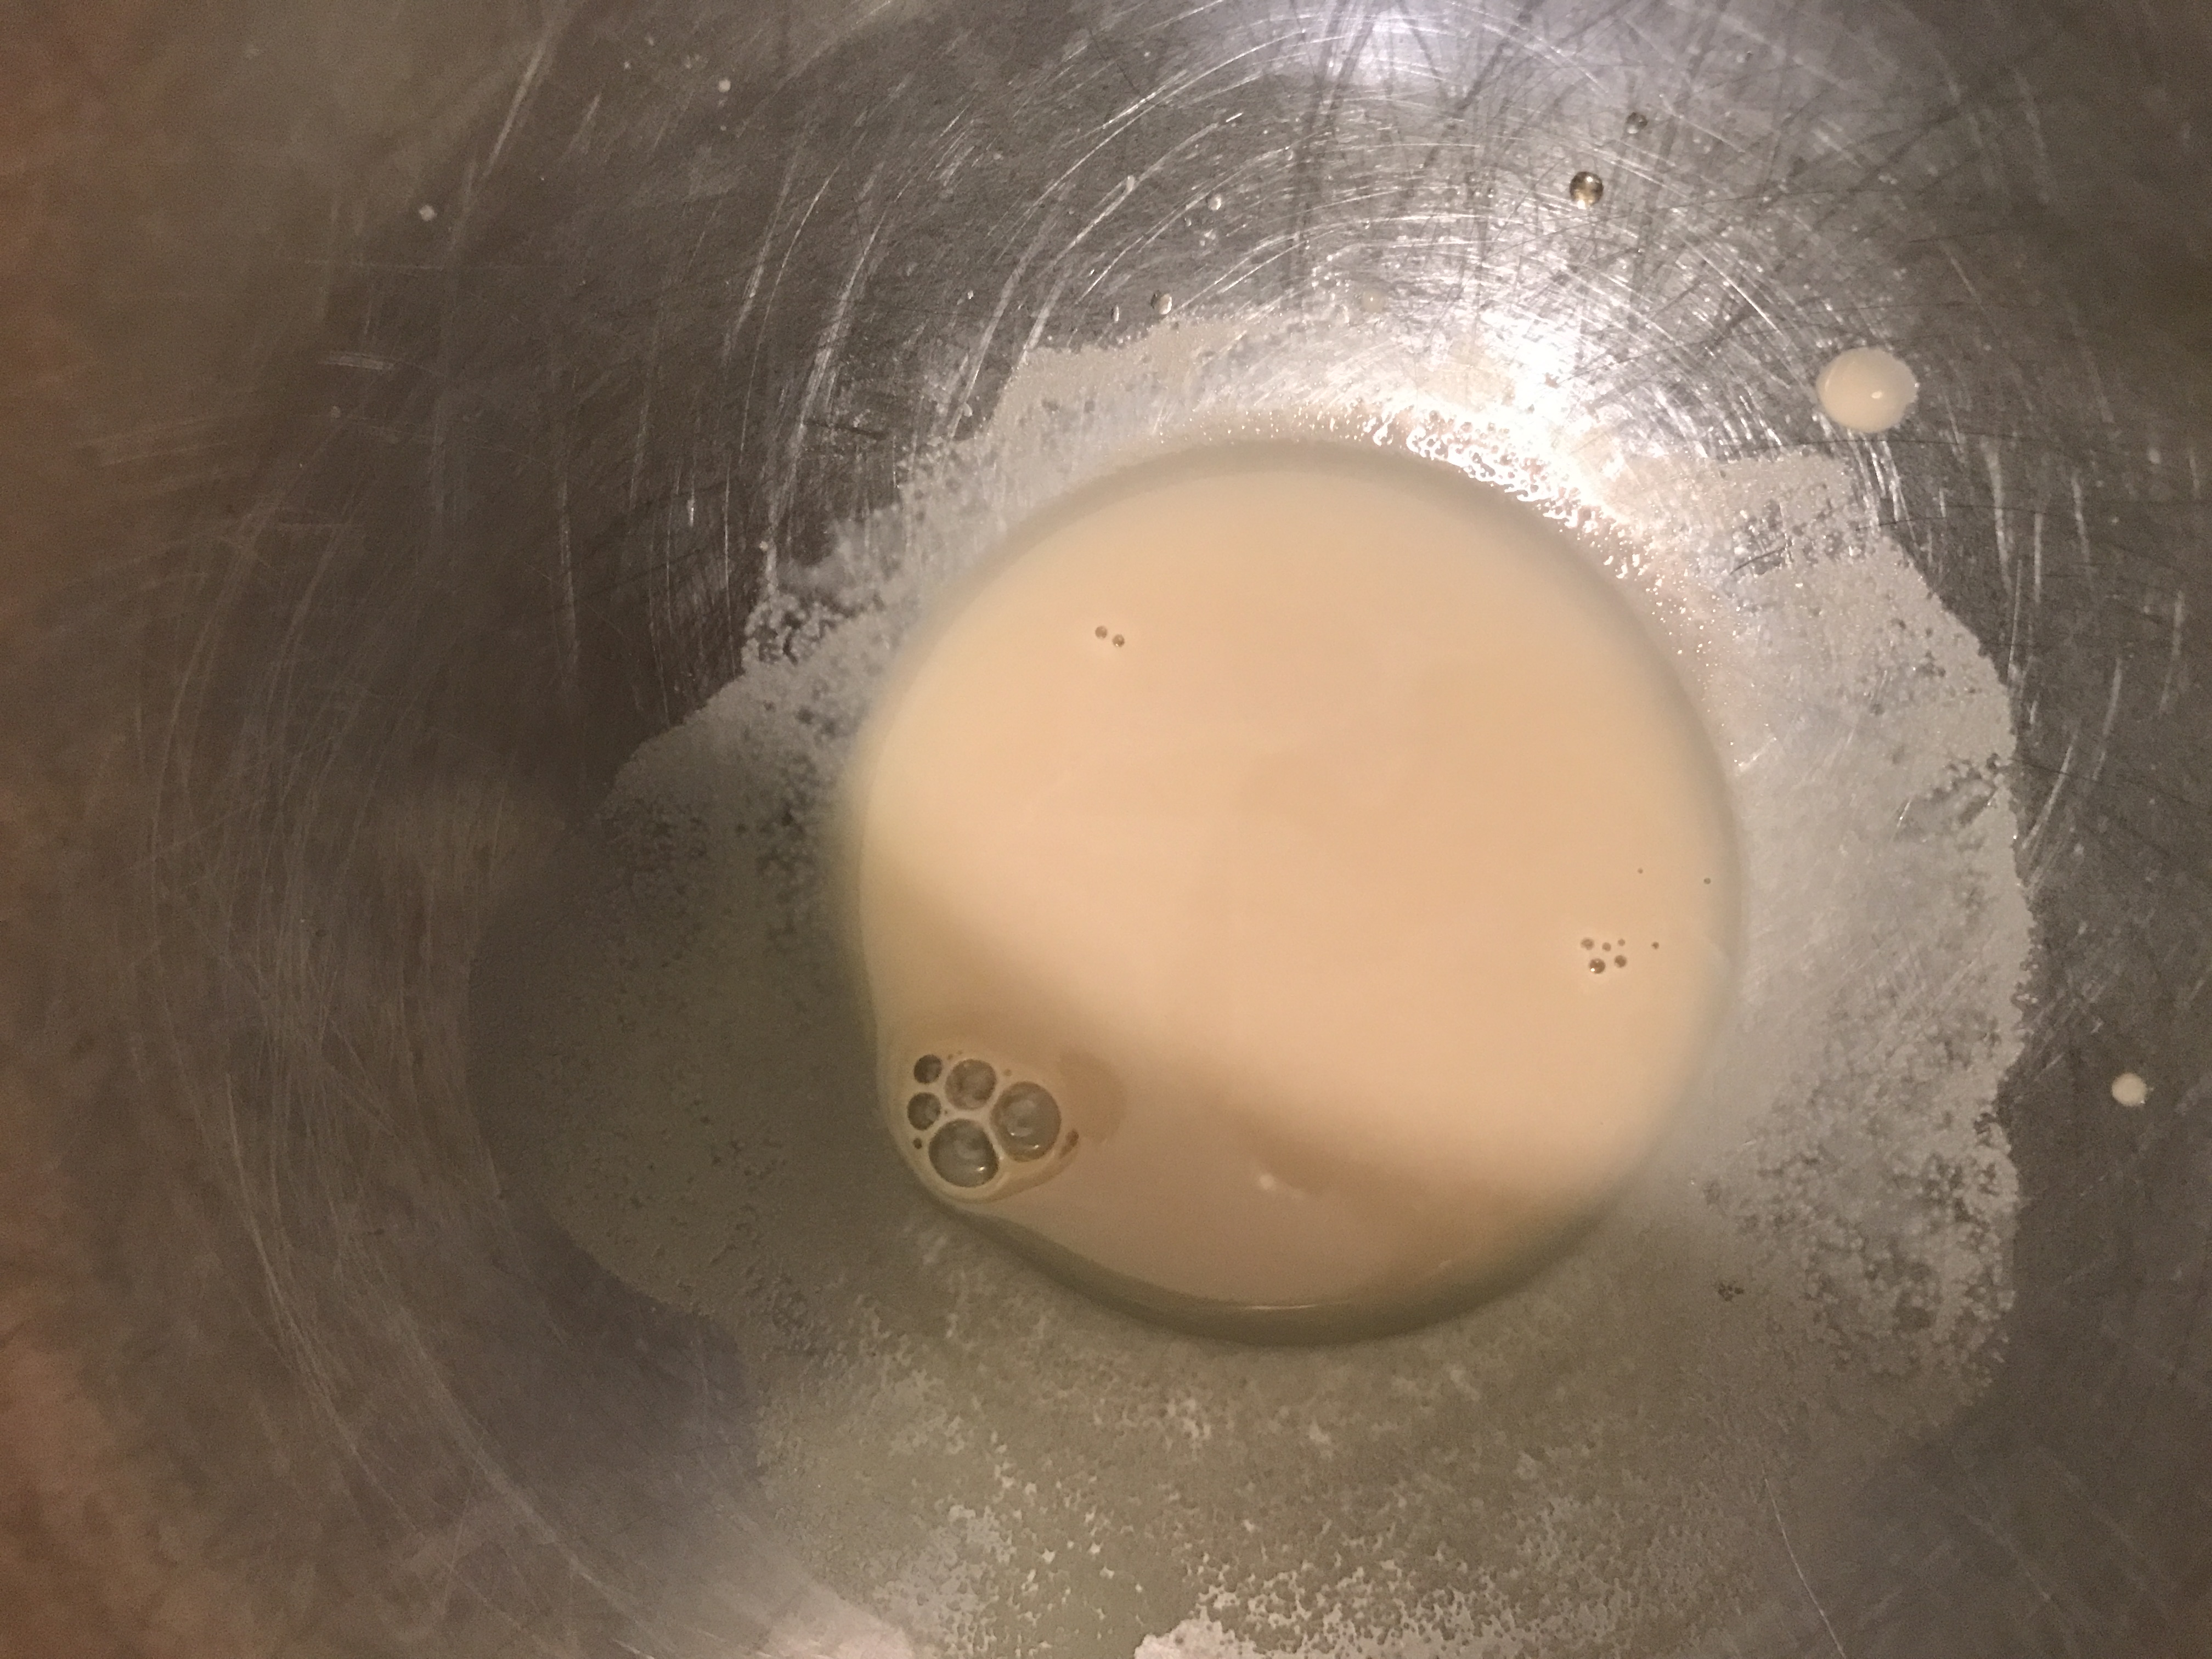
Dissolve baking soda, milk, & vanilla in another small bowl.

Then add to pumpkin mixture and mix again until just combined.


Be sure to scrape the sides of the bowl & make sure all of the flour is mixed well!


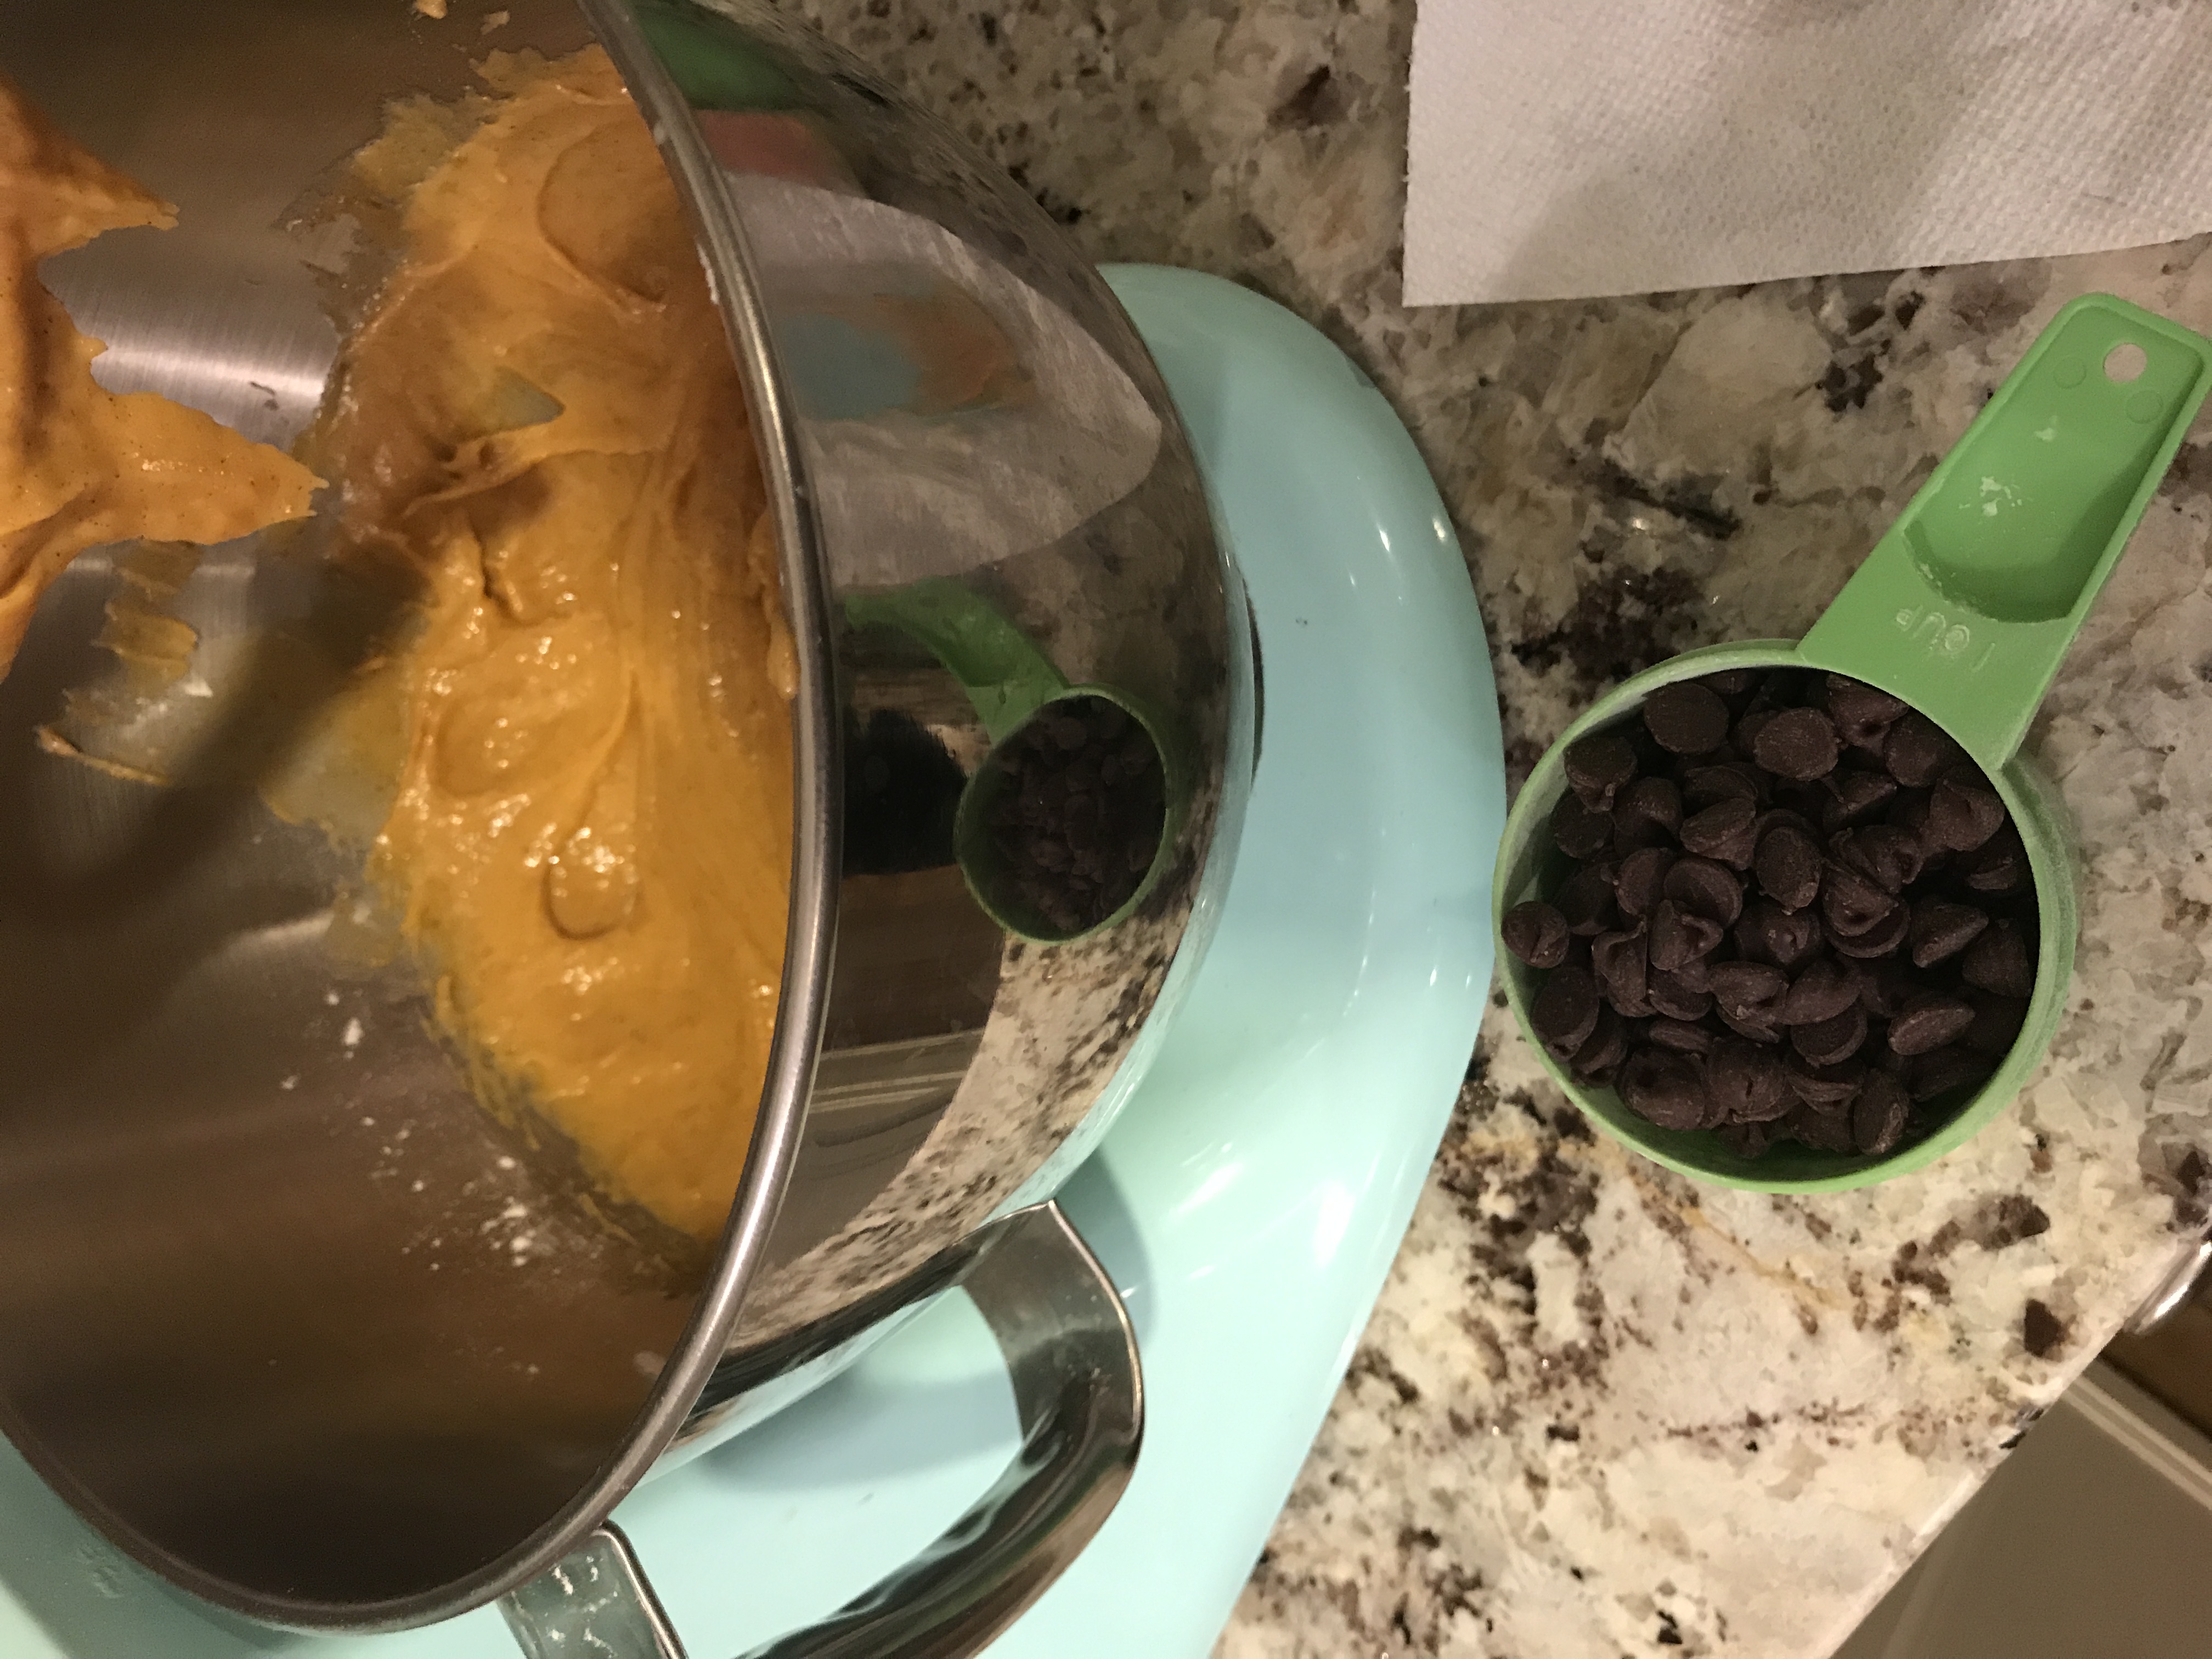
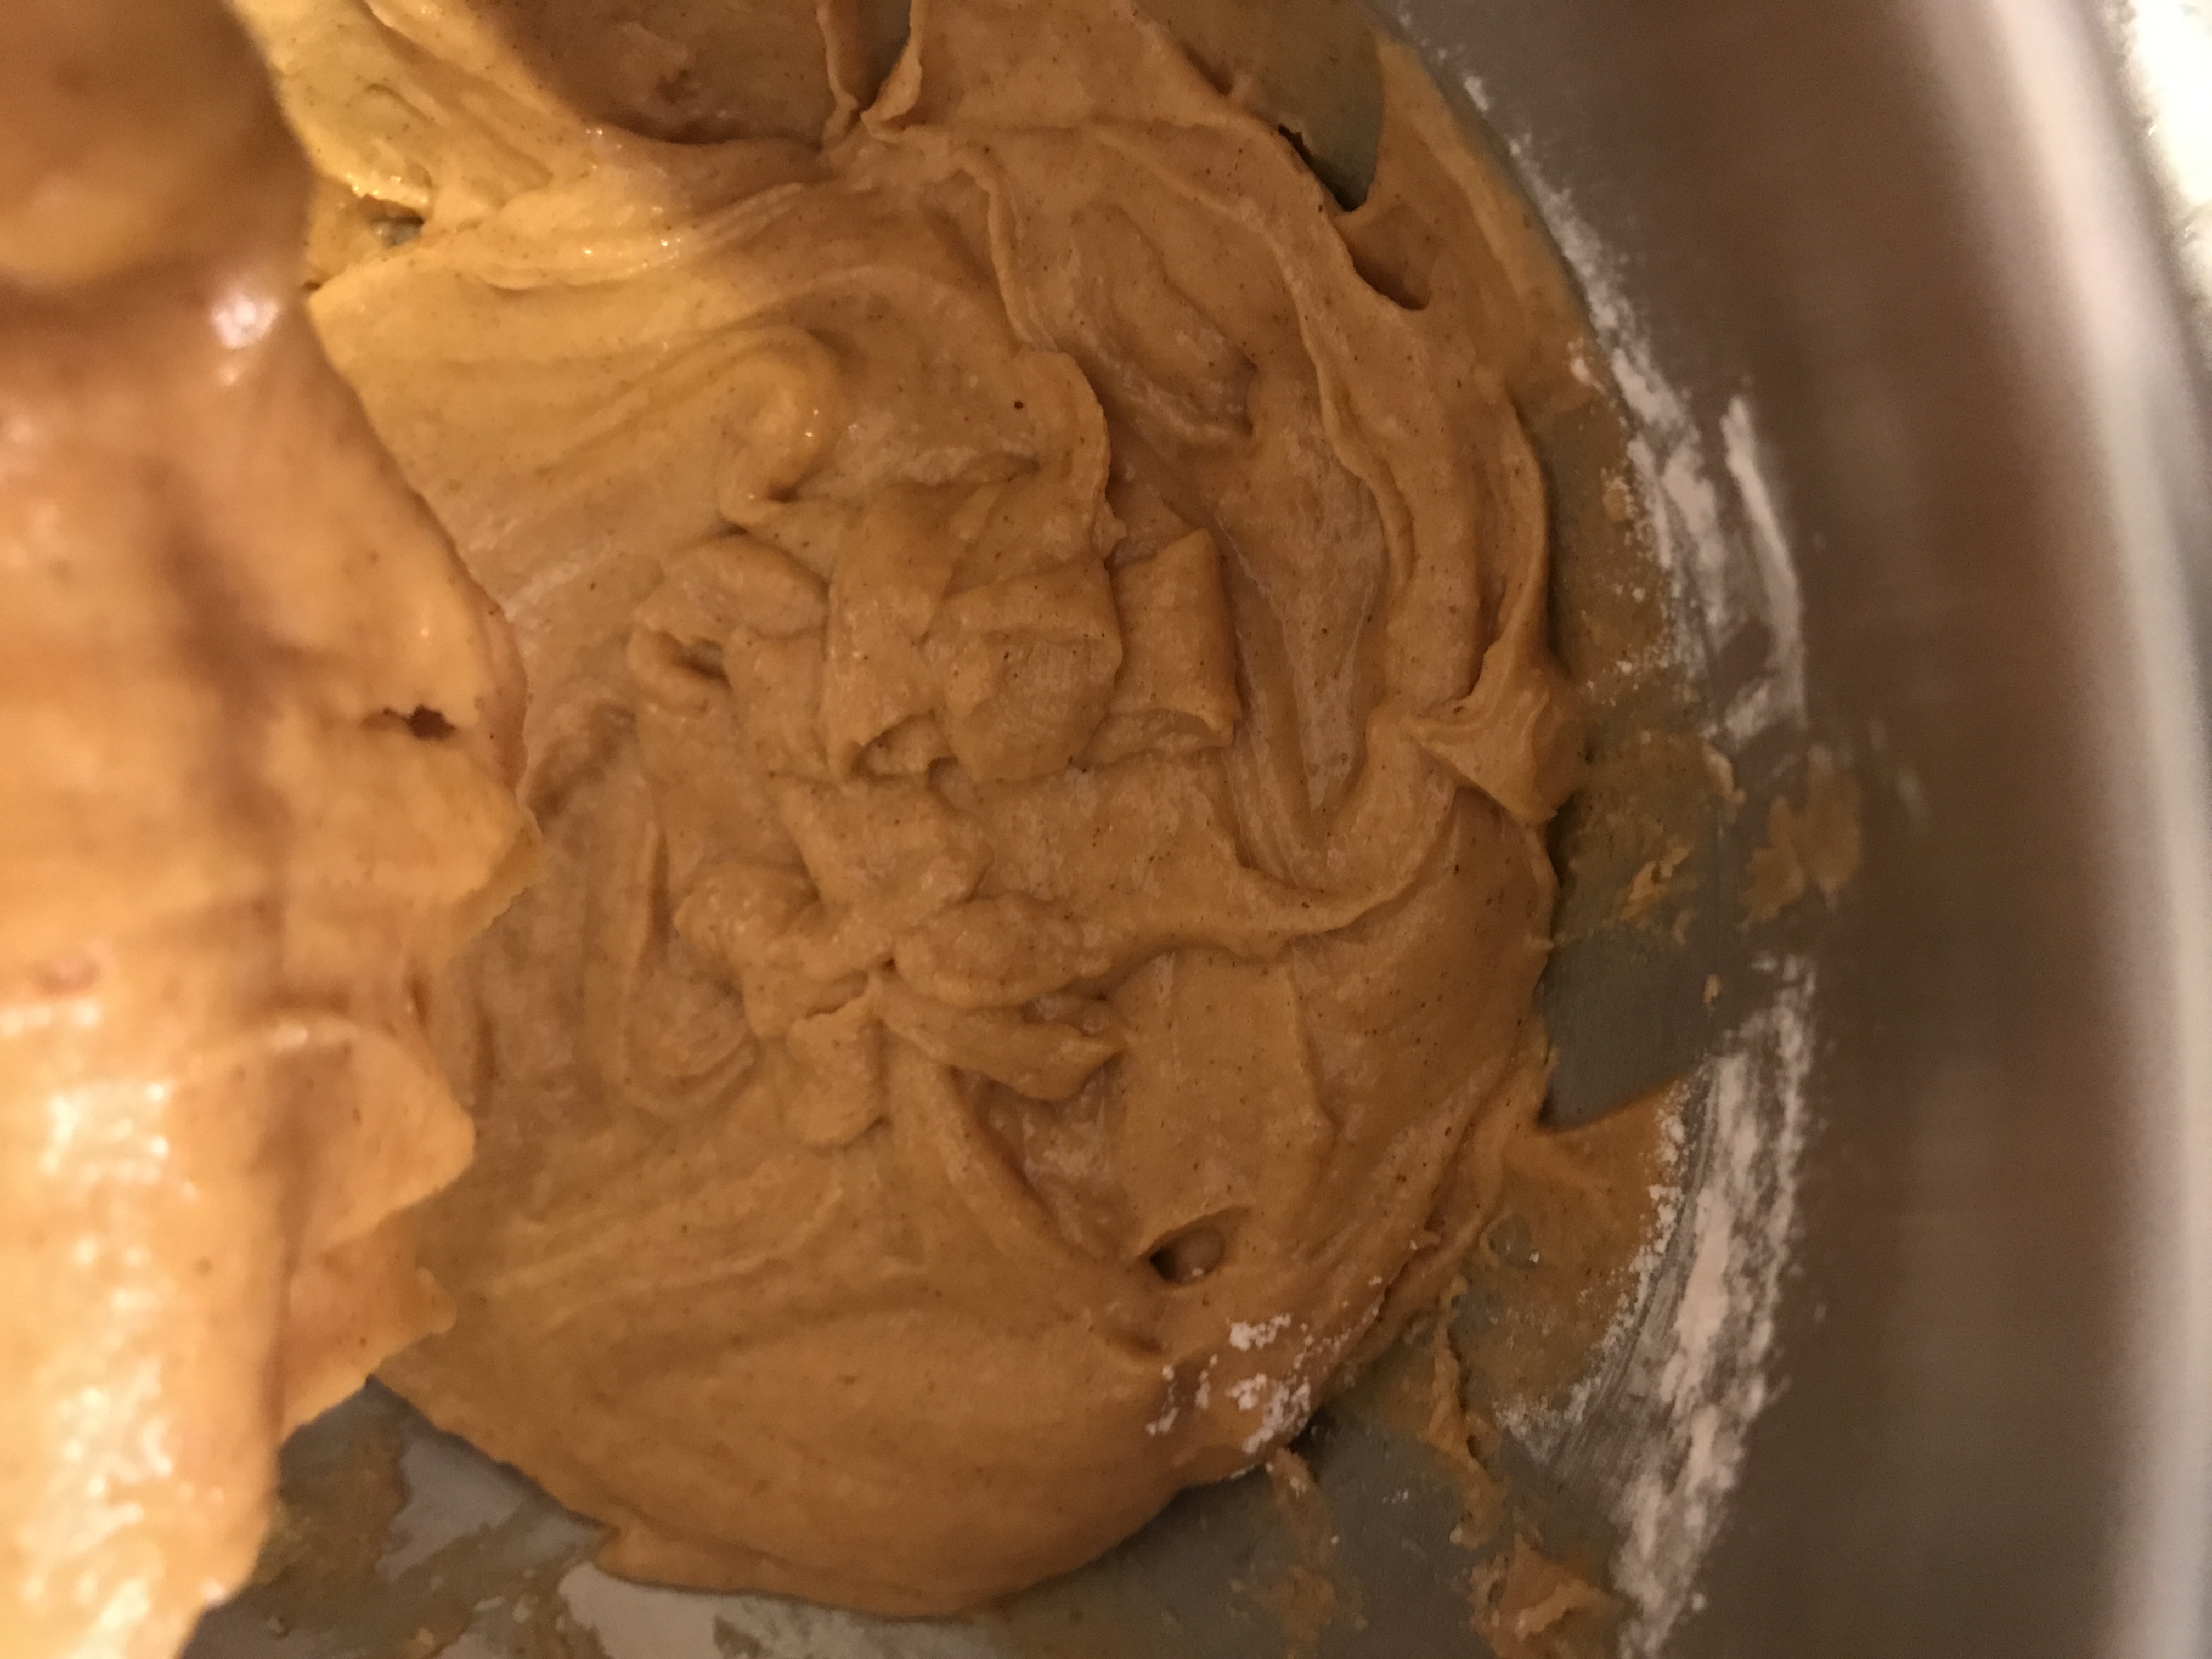
Lastly, add in one cup of chocolate chips.

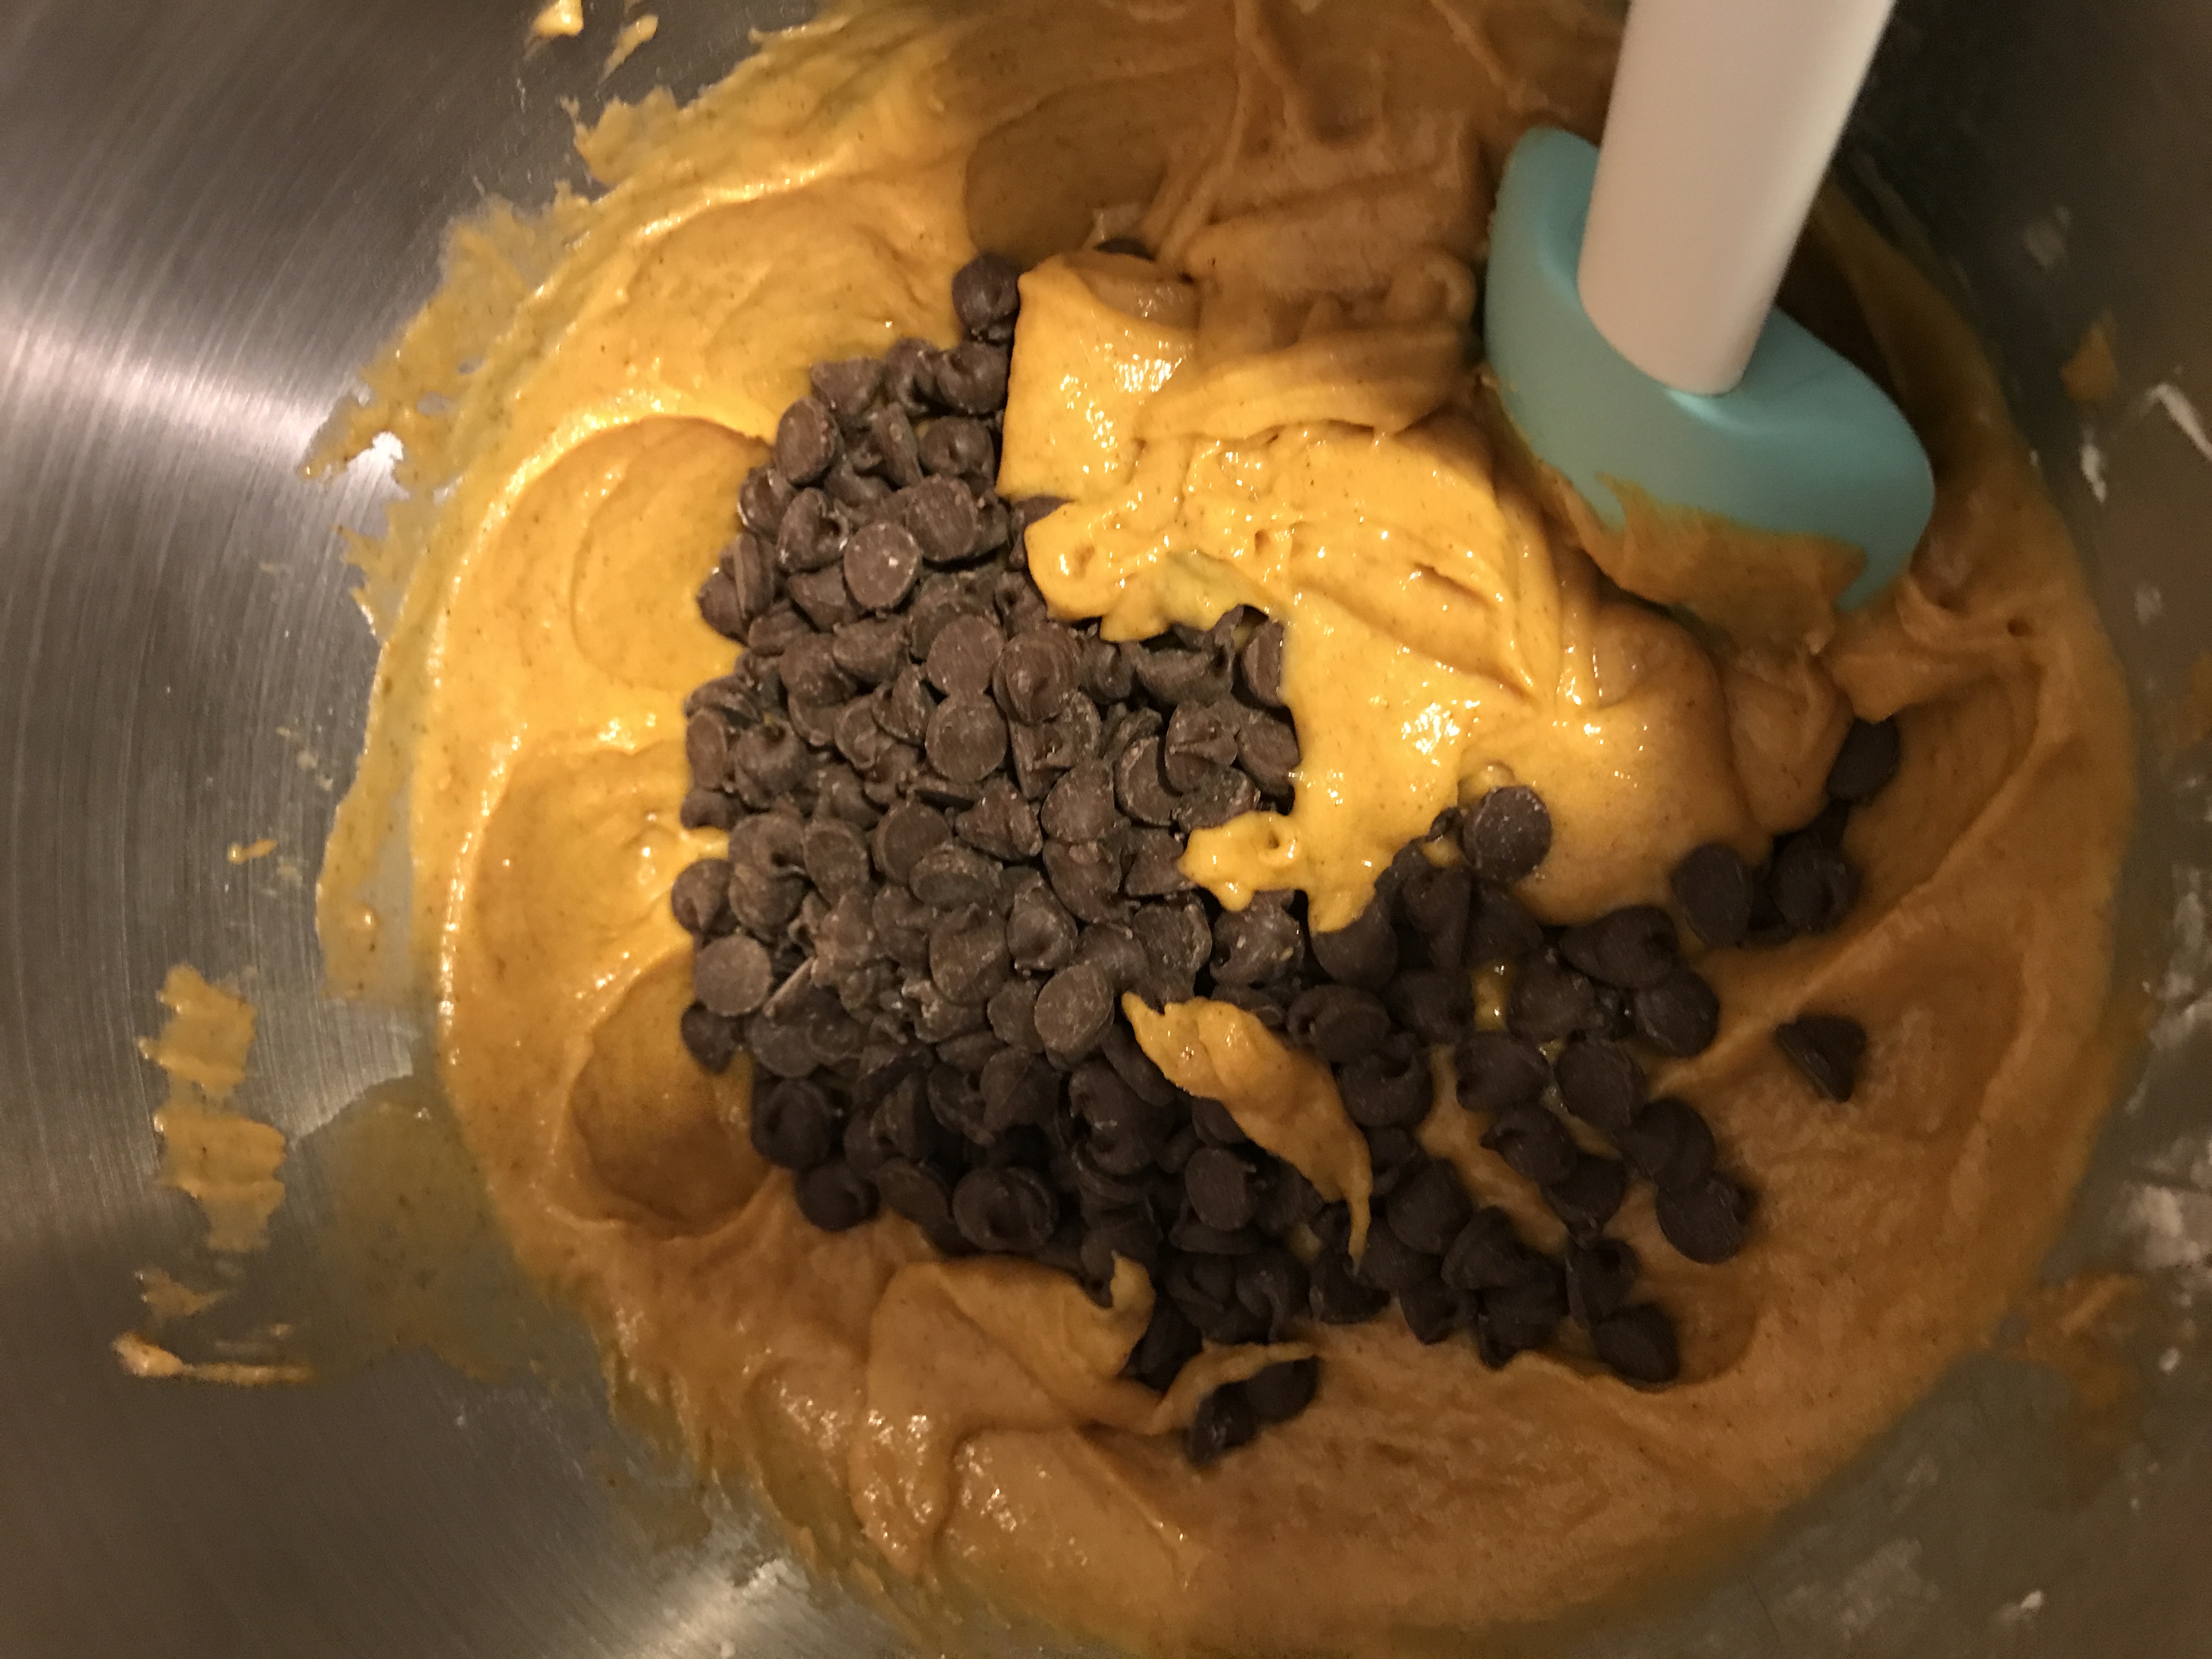
Stir in the chocolate chips.


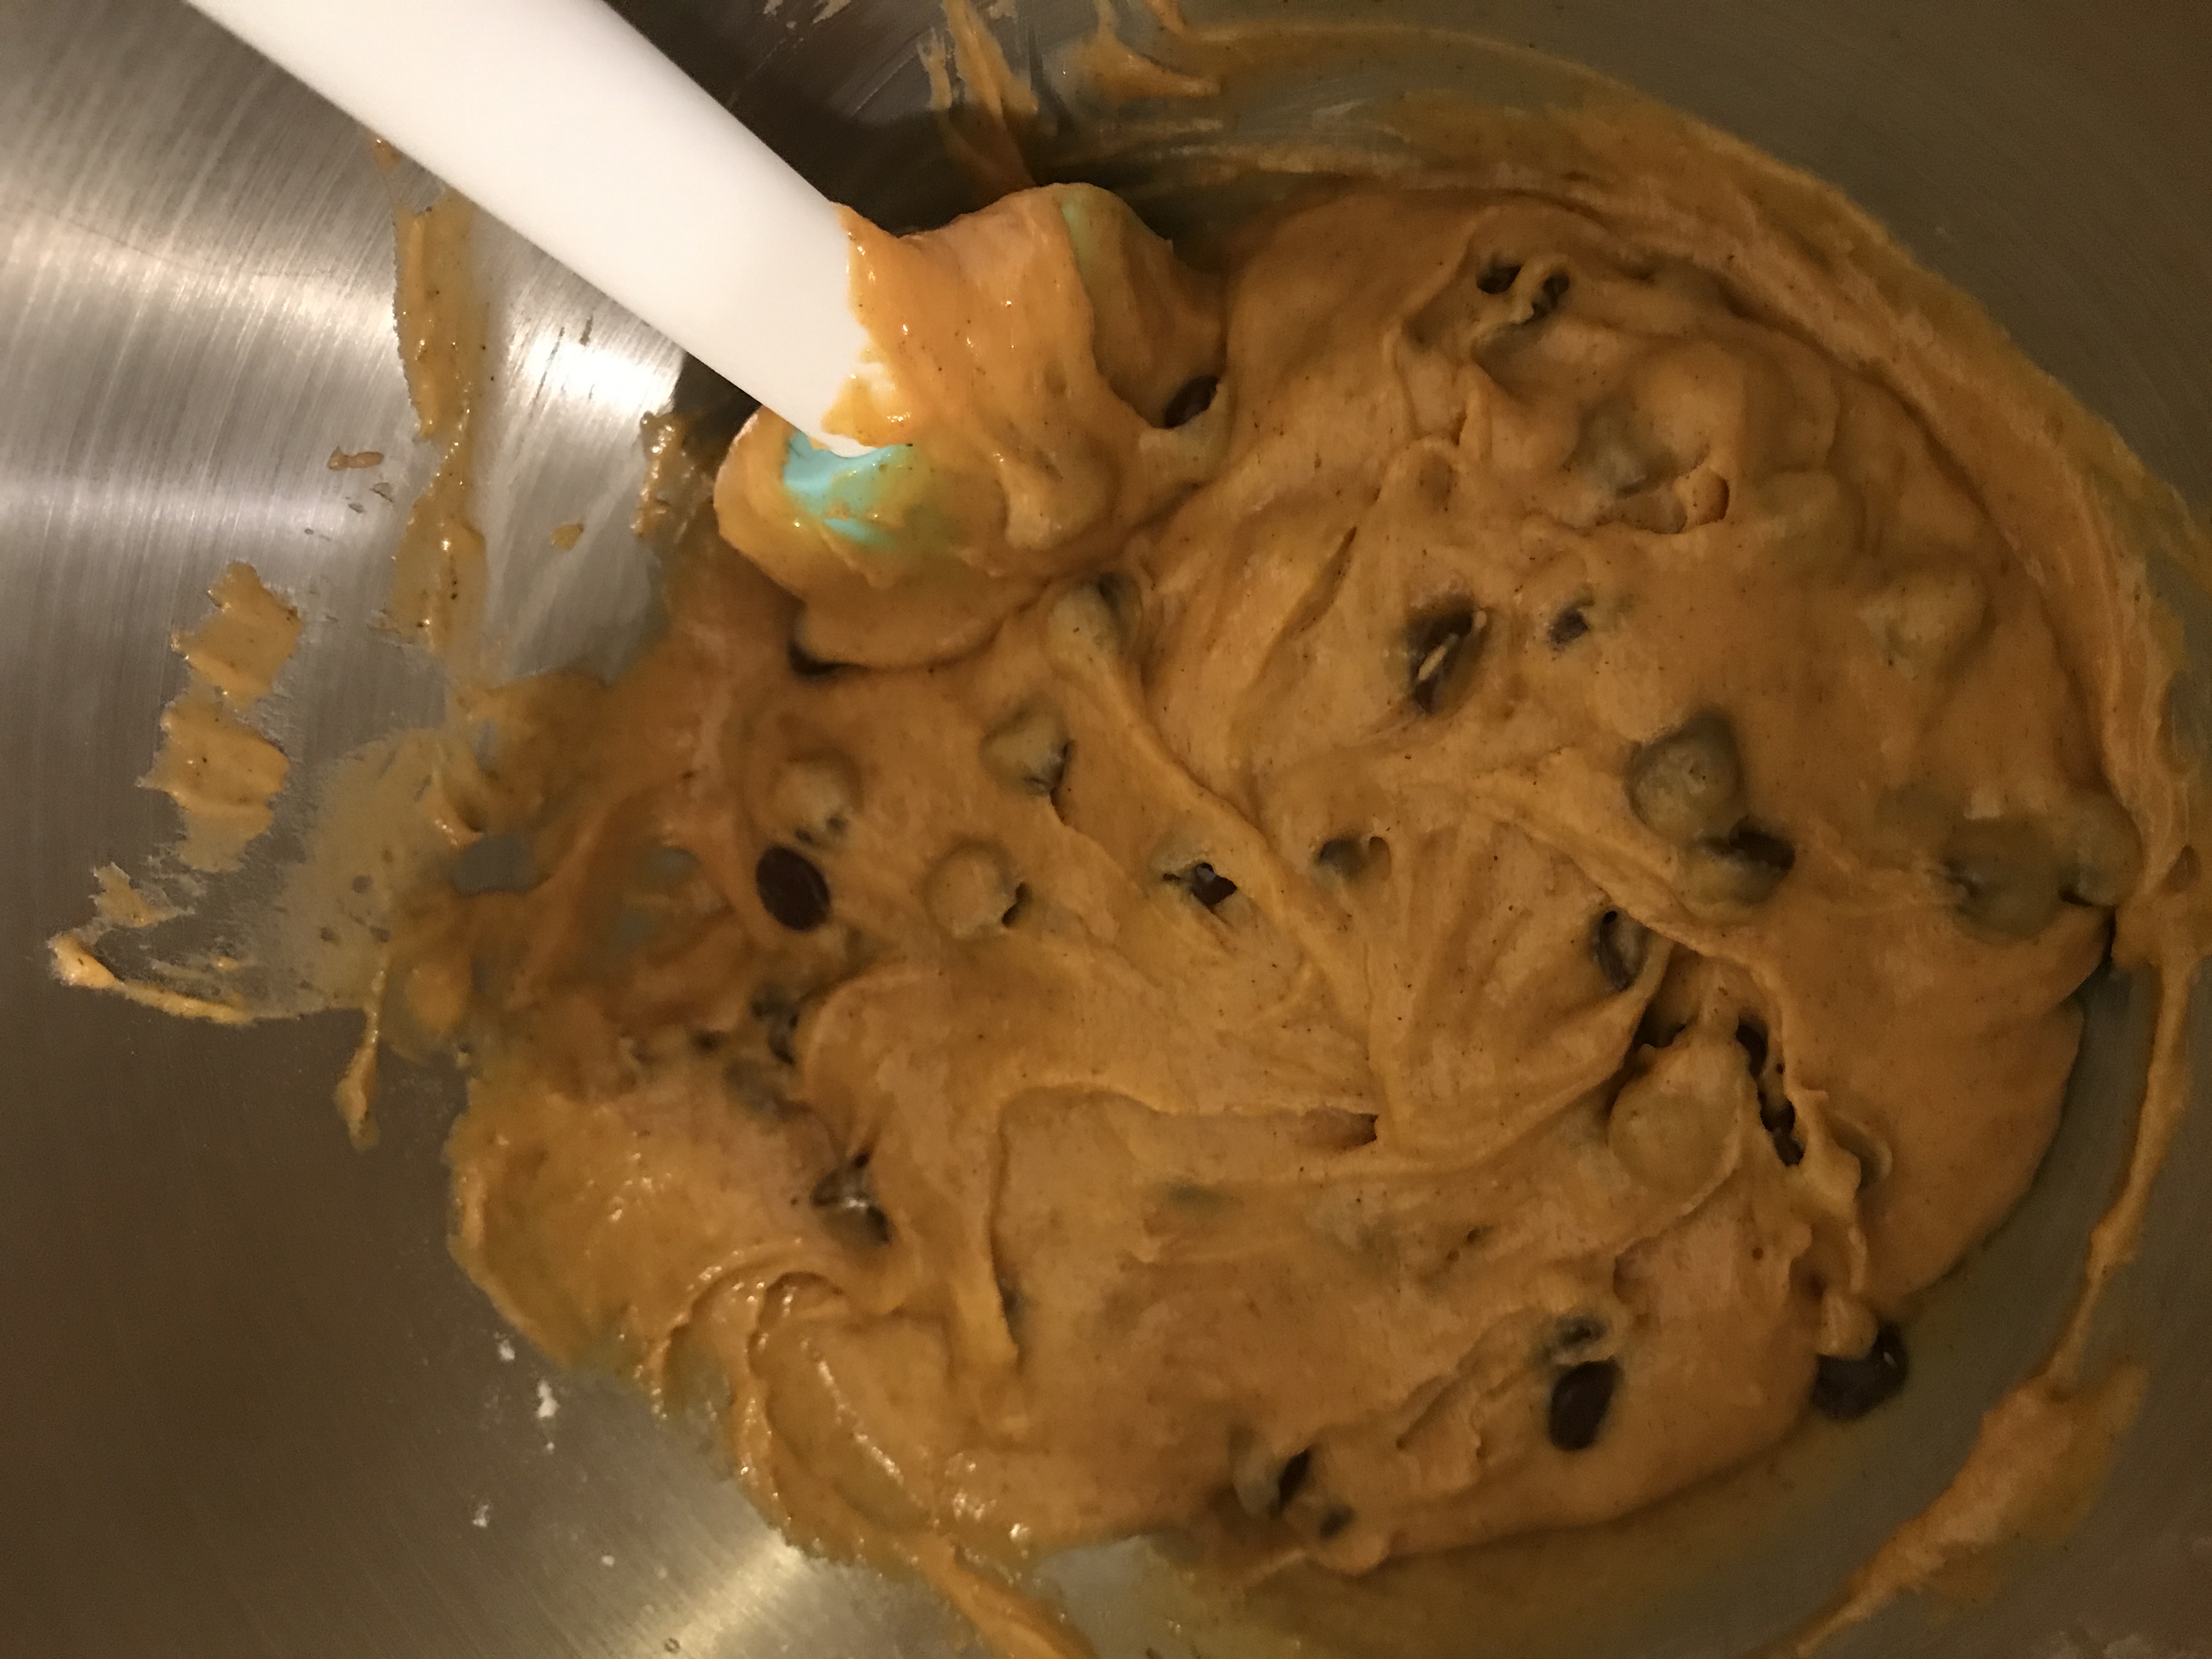
Finished cookie dough – yum!


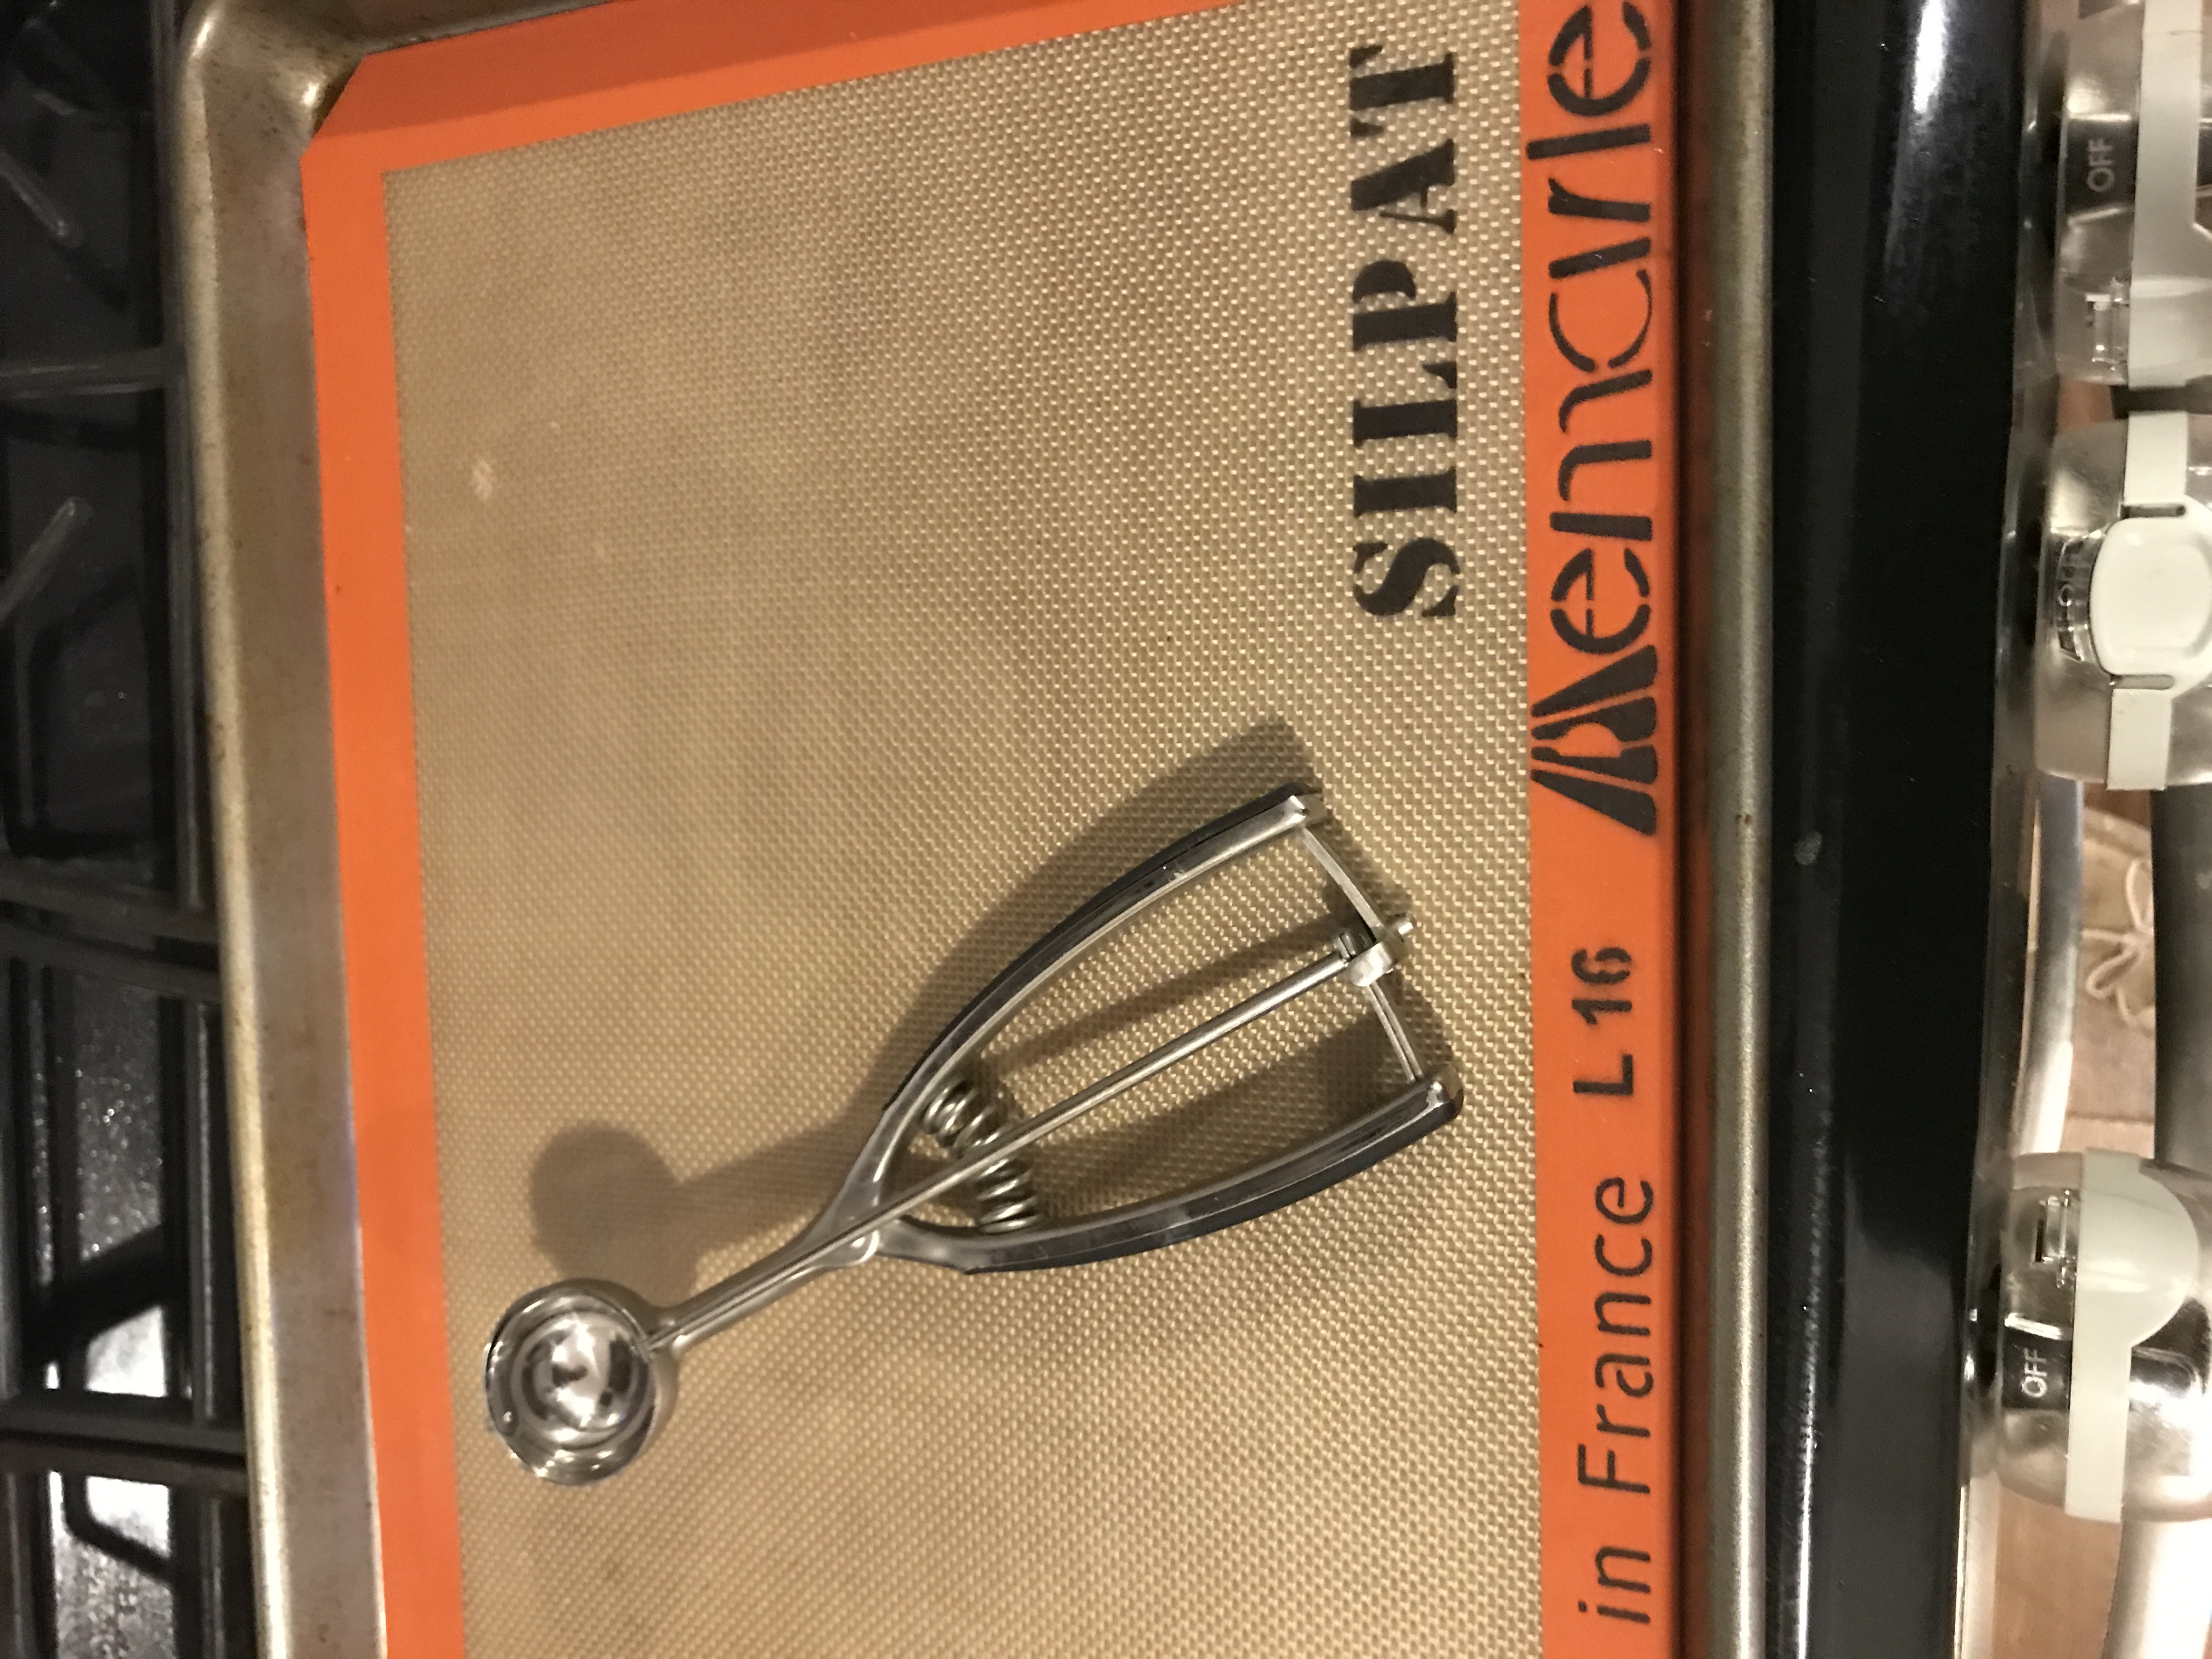
Essential tools for any baker!

Cookie Scoop

Silpat Mat

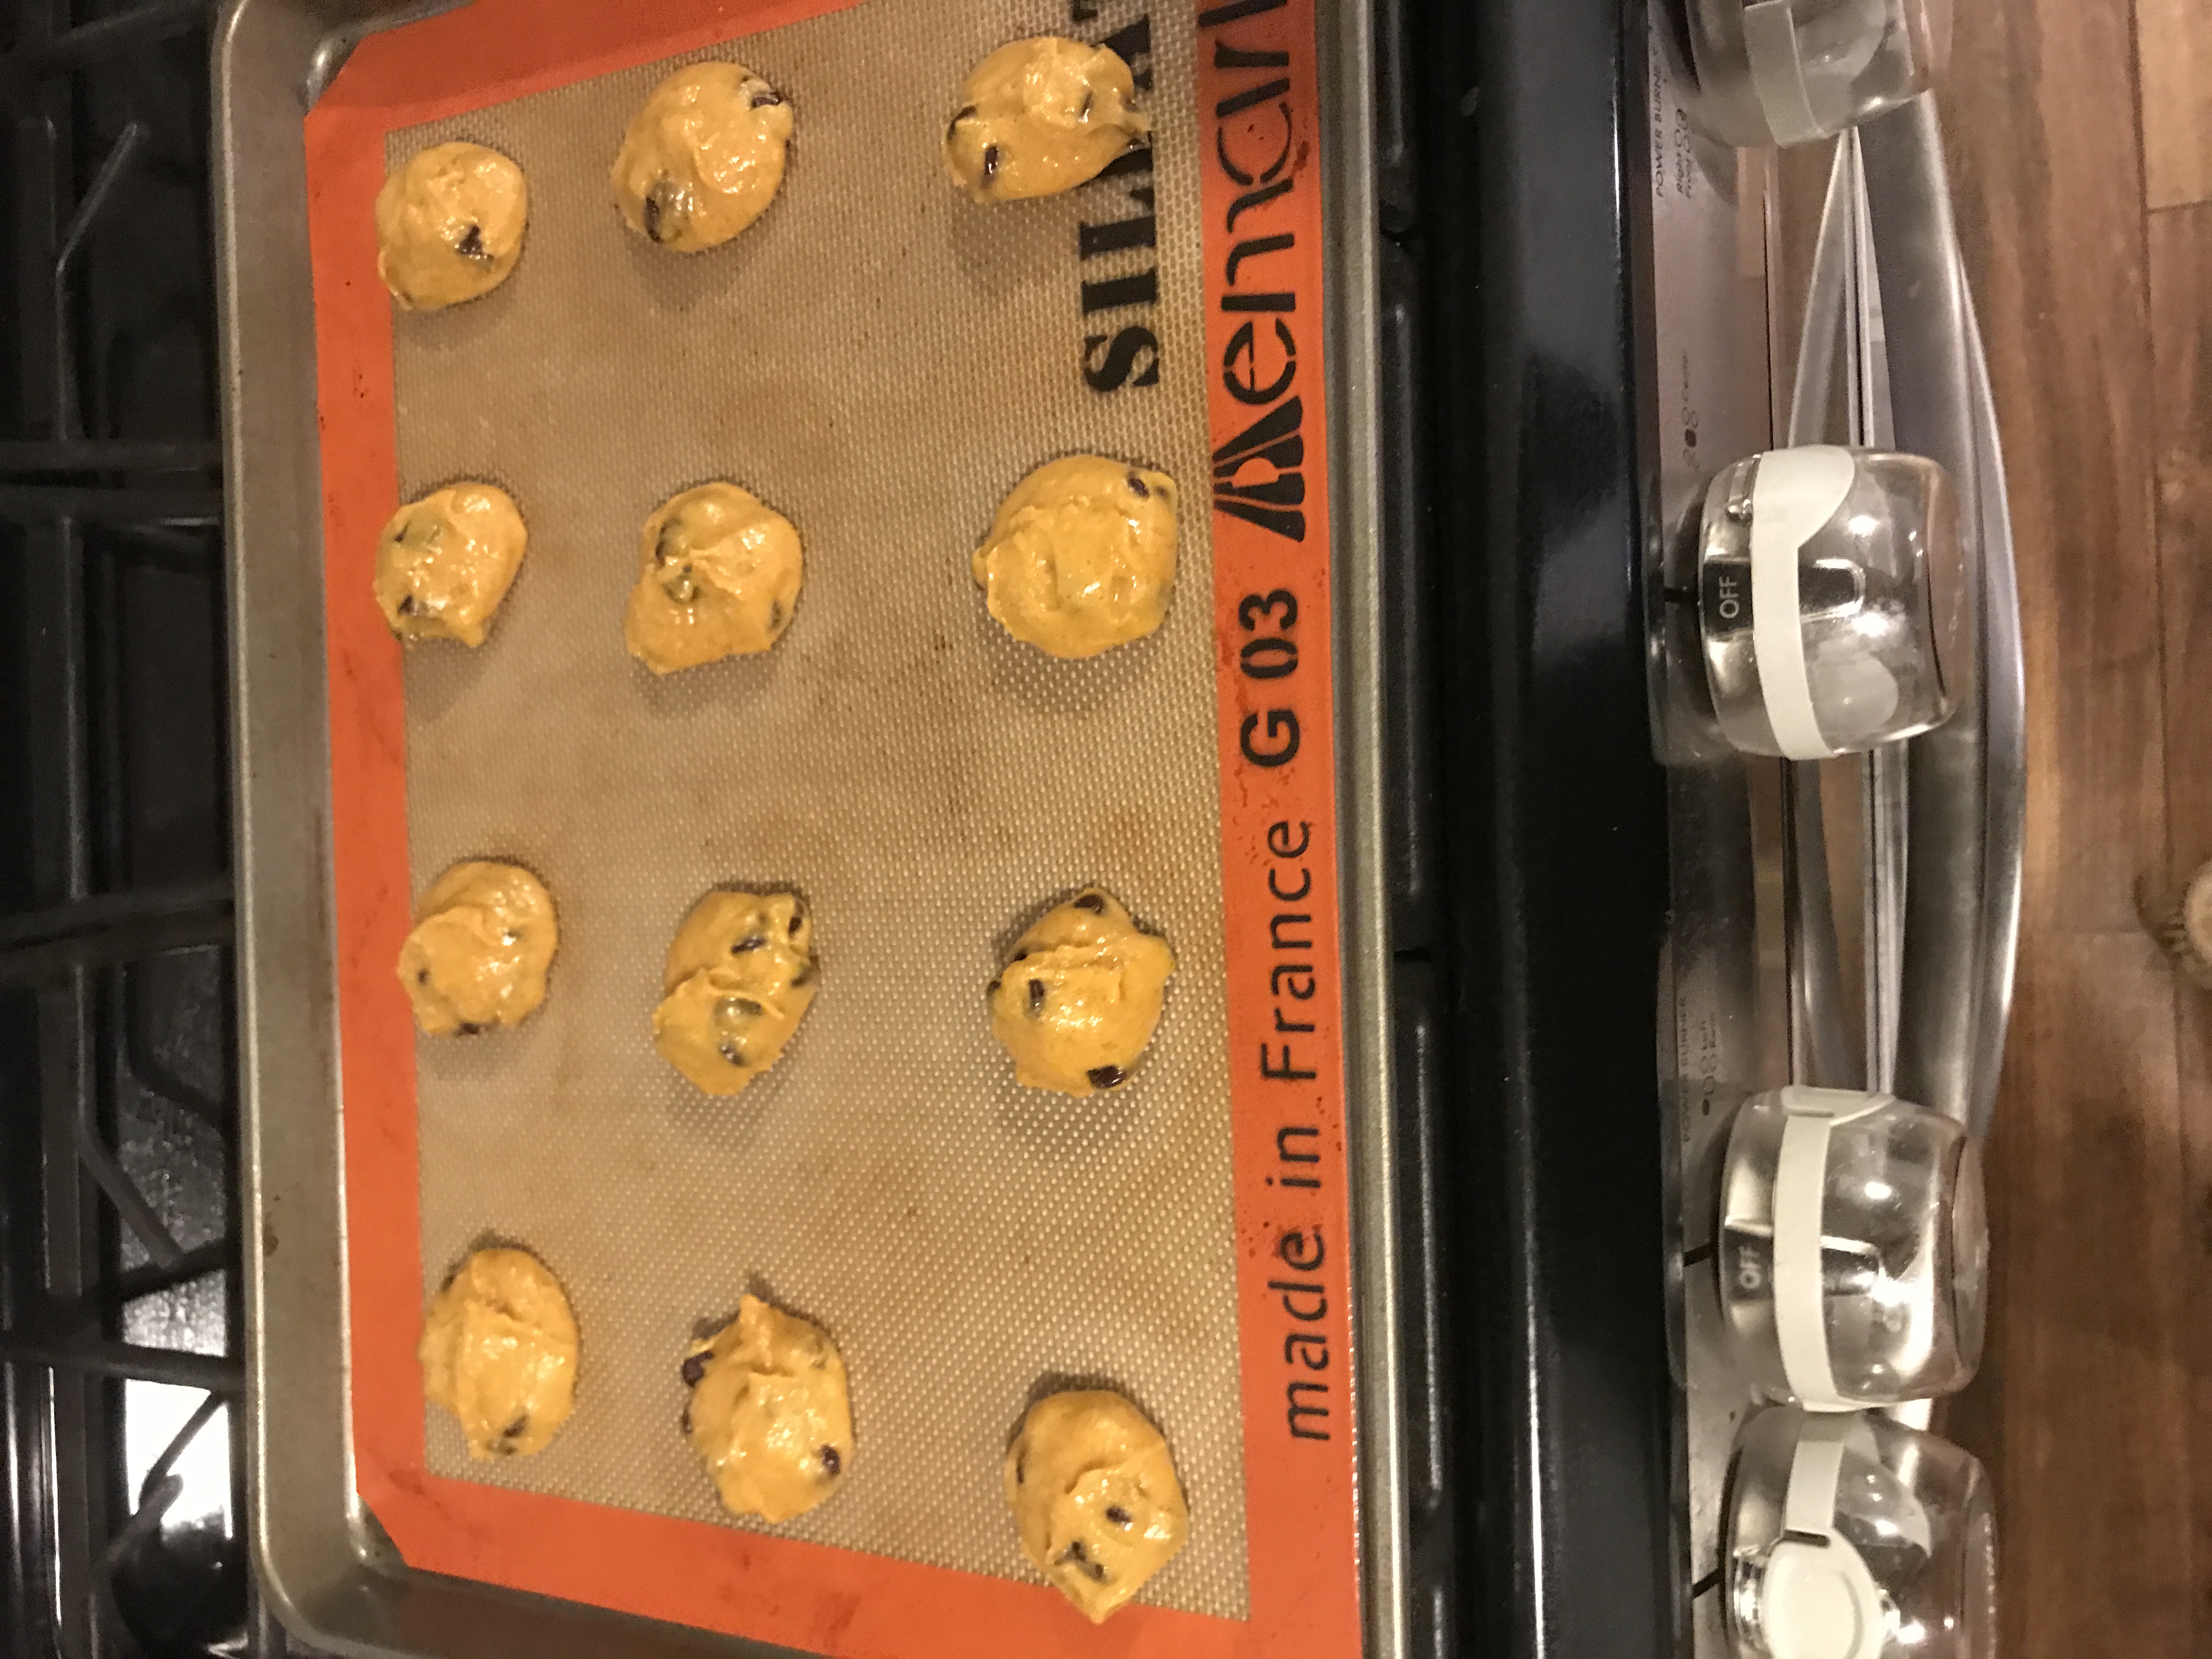
Scooped & ready to go in the oven.


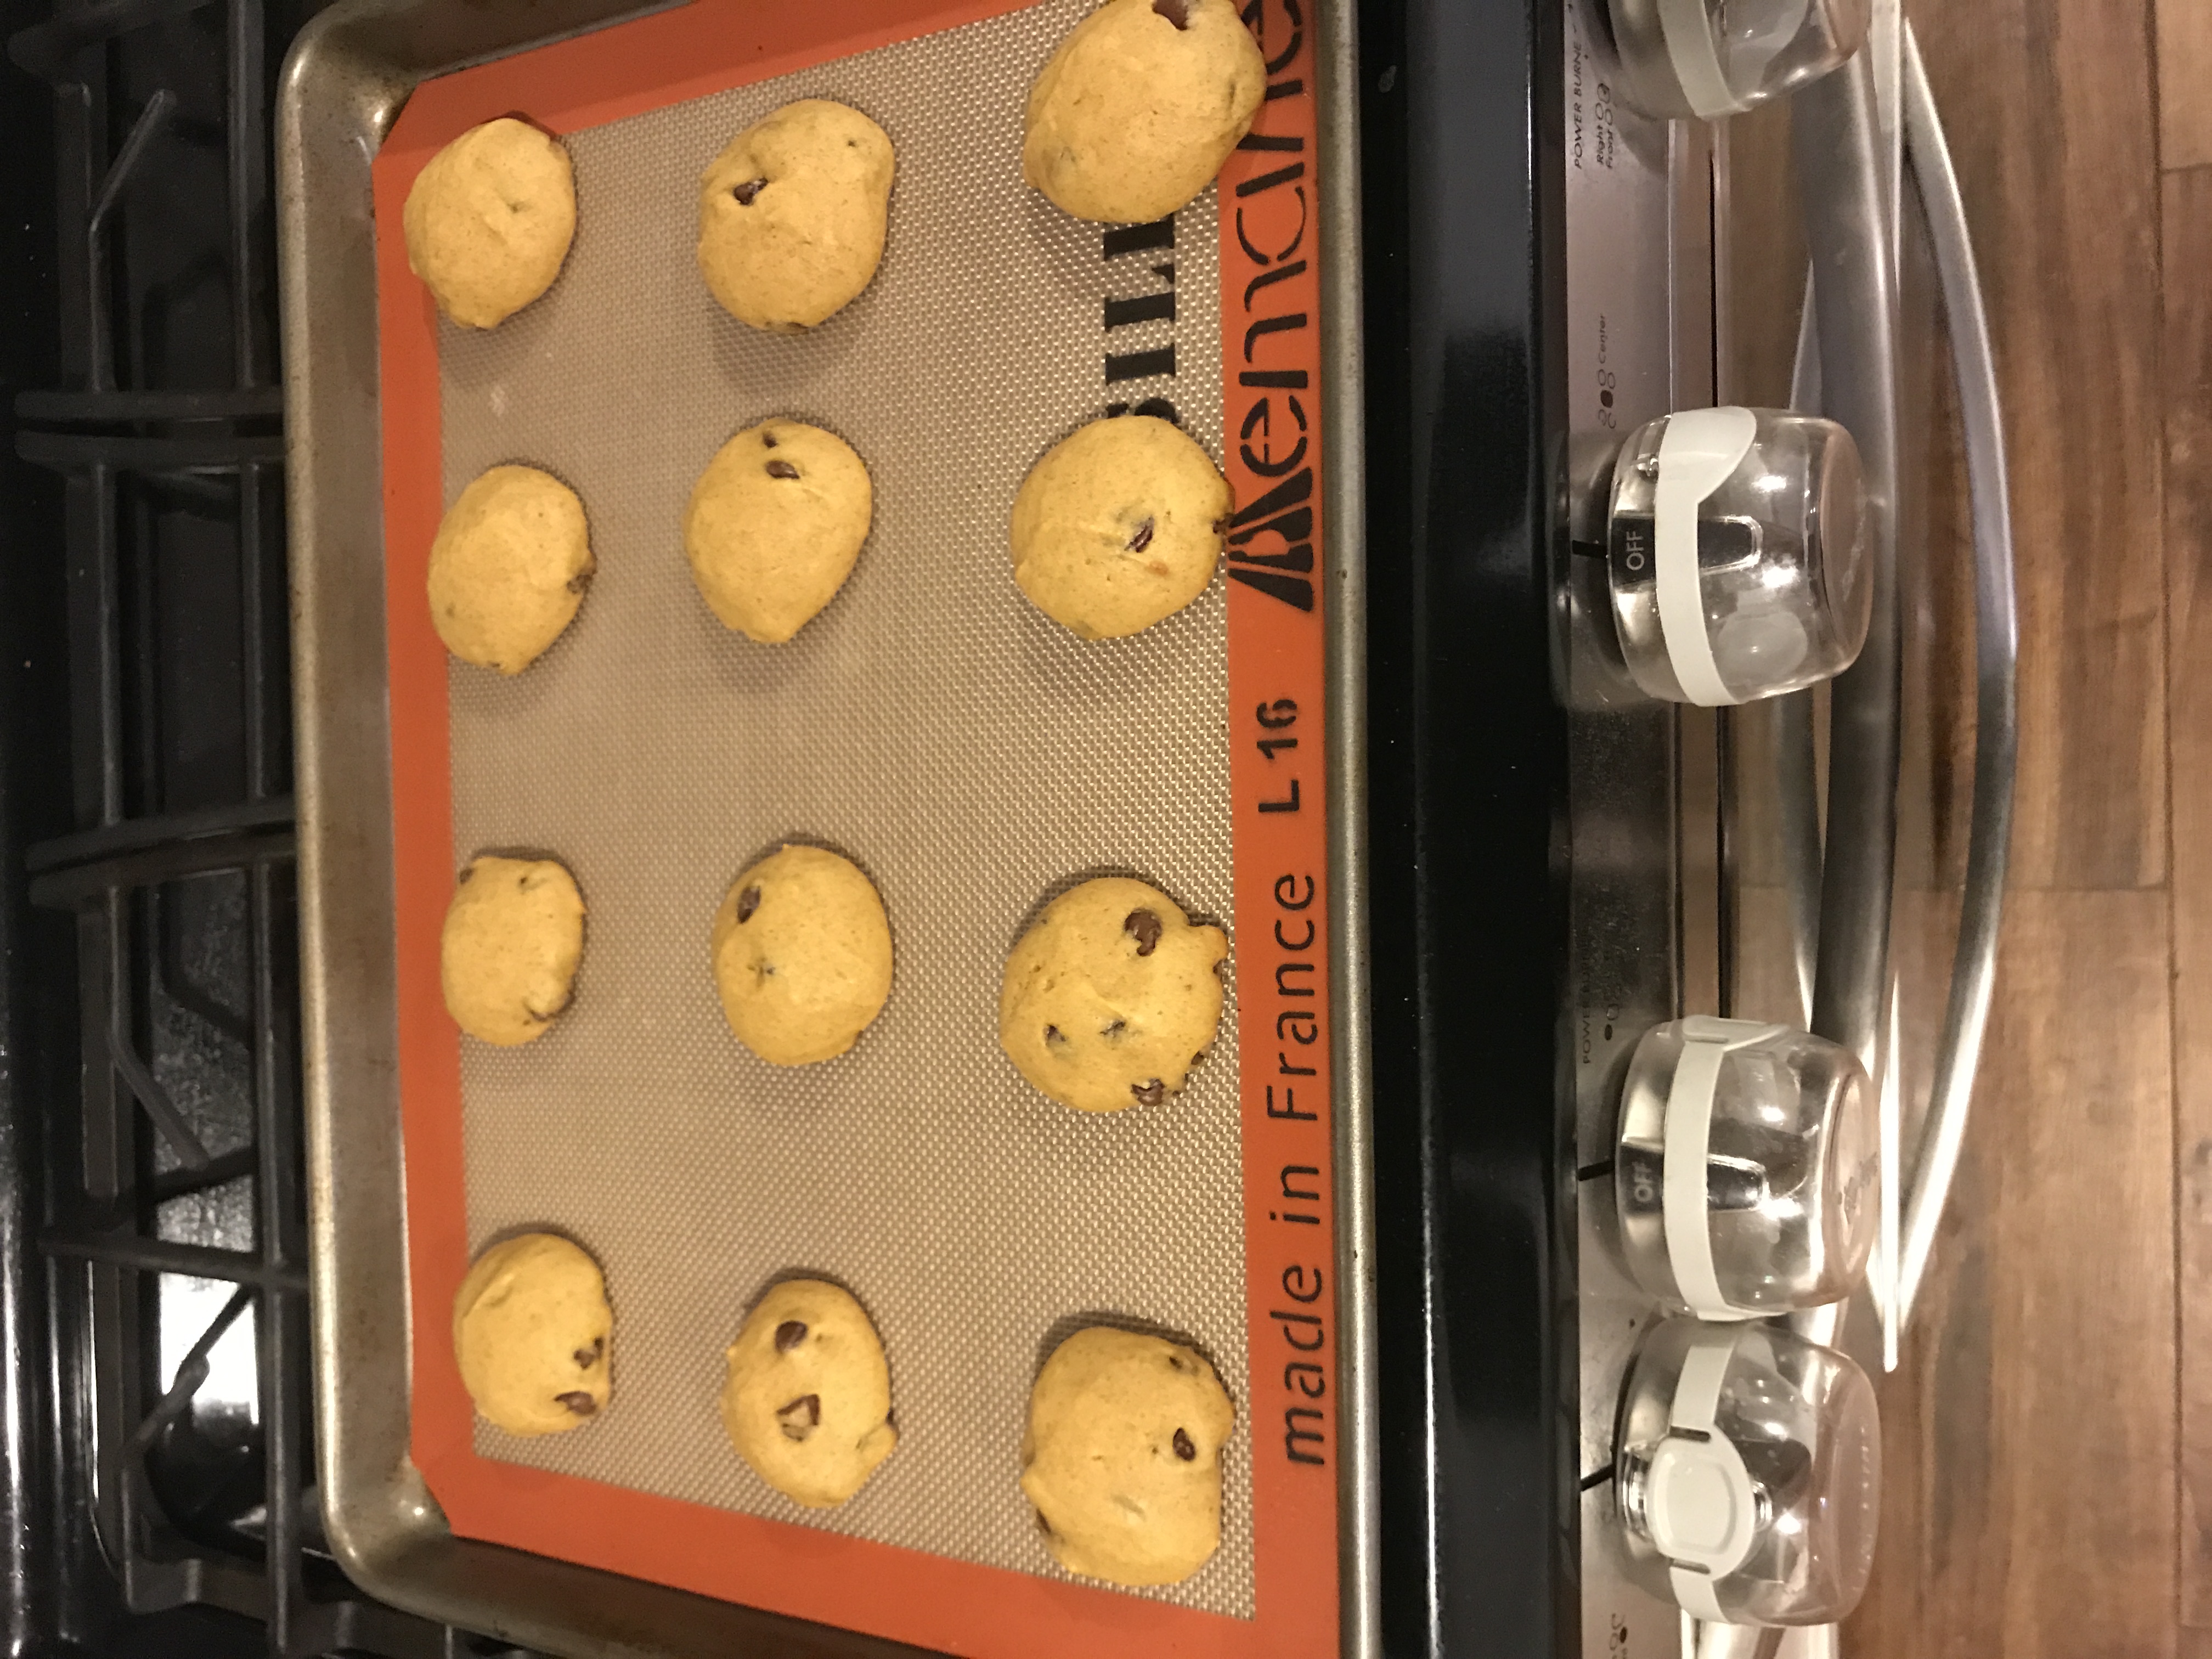
Perfectly baked after 8-9 minutes!


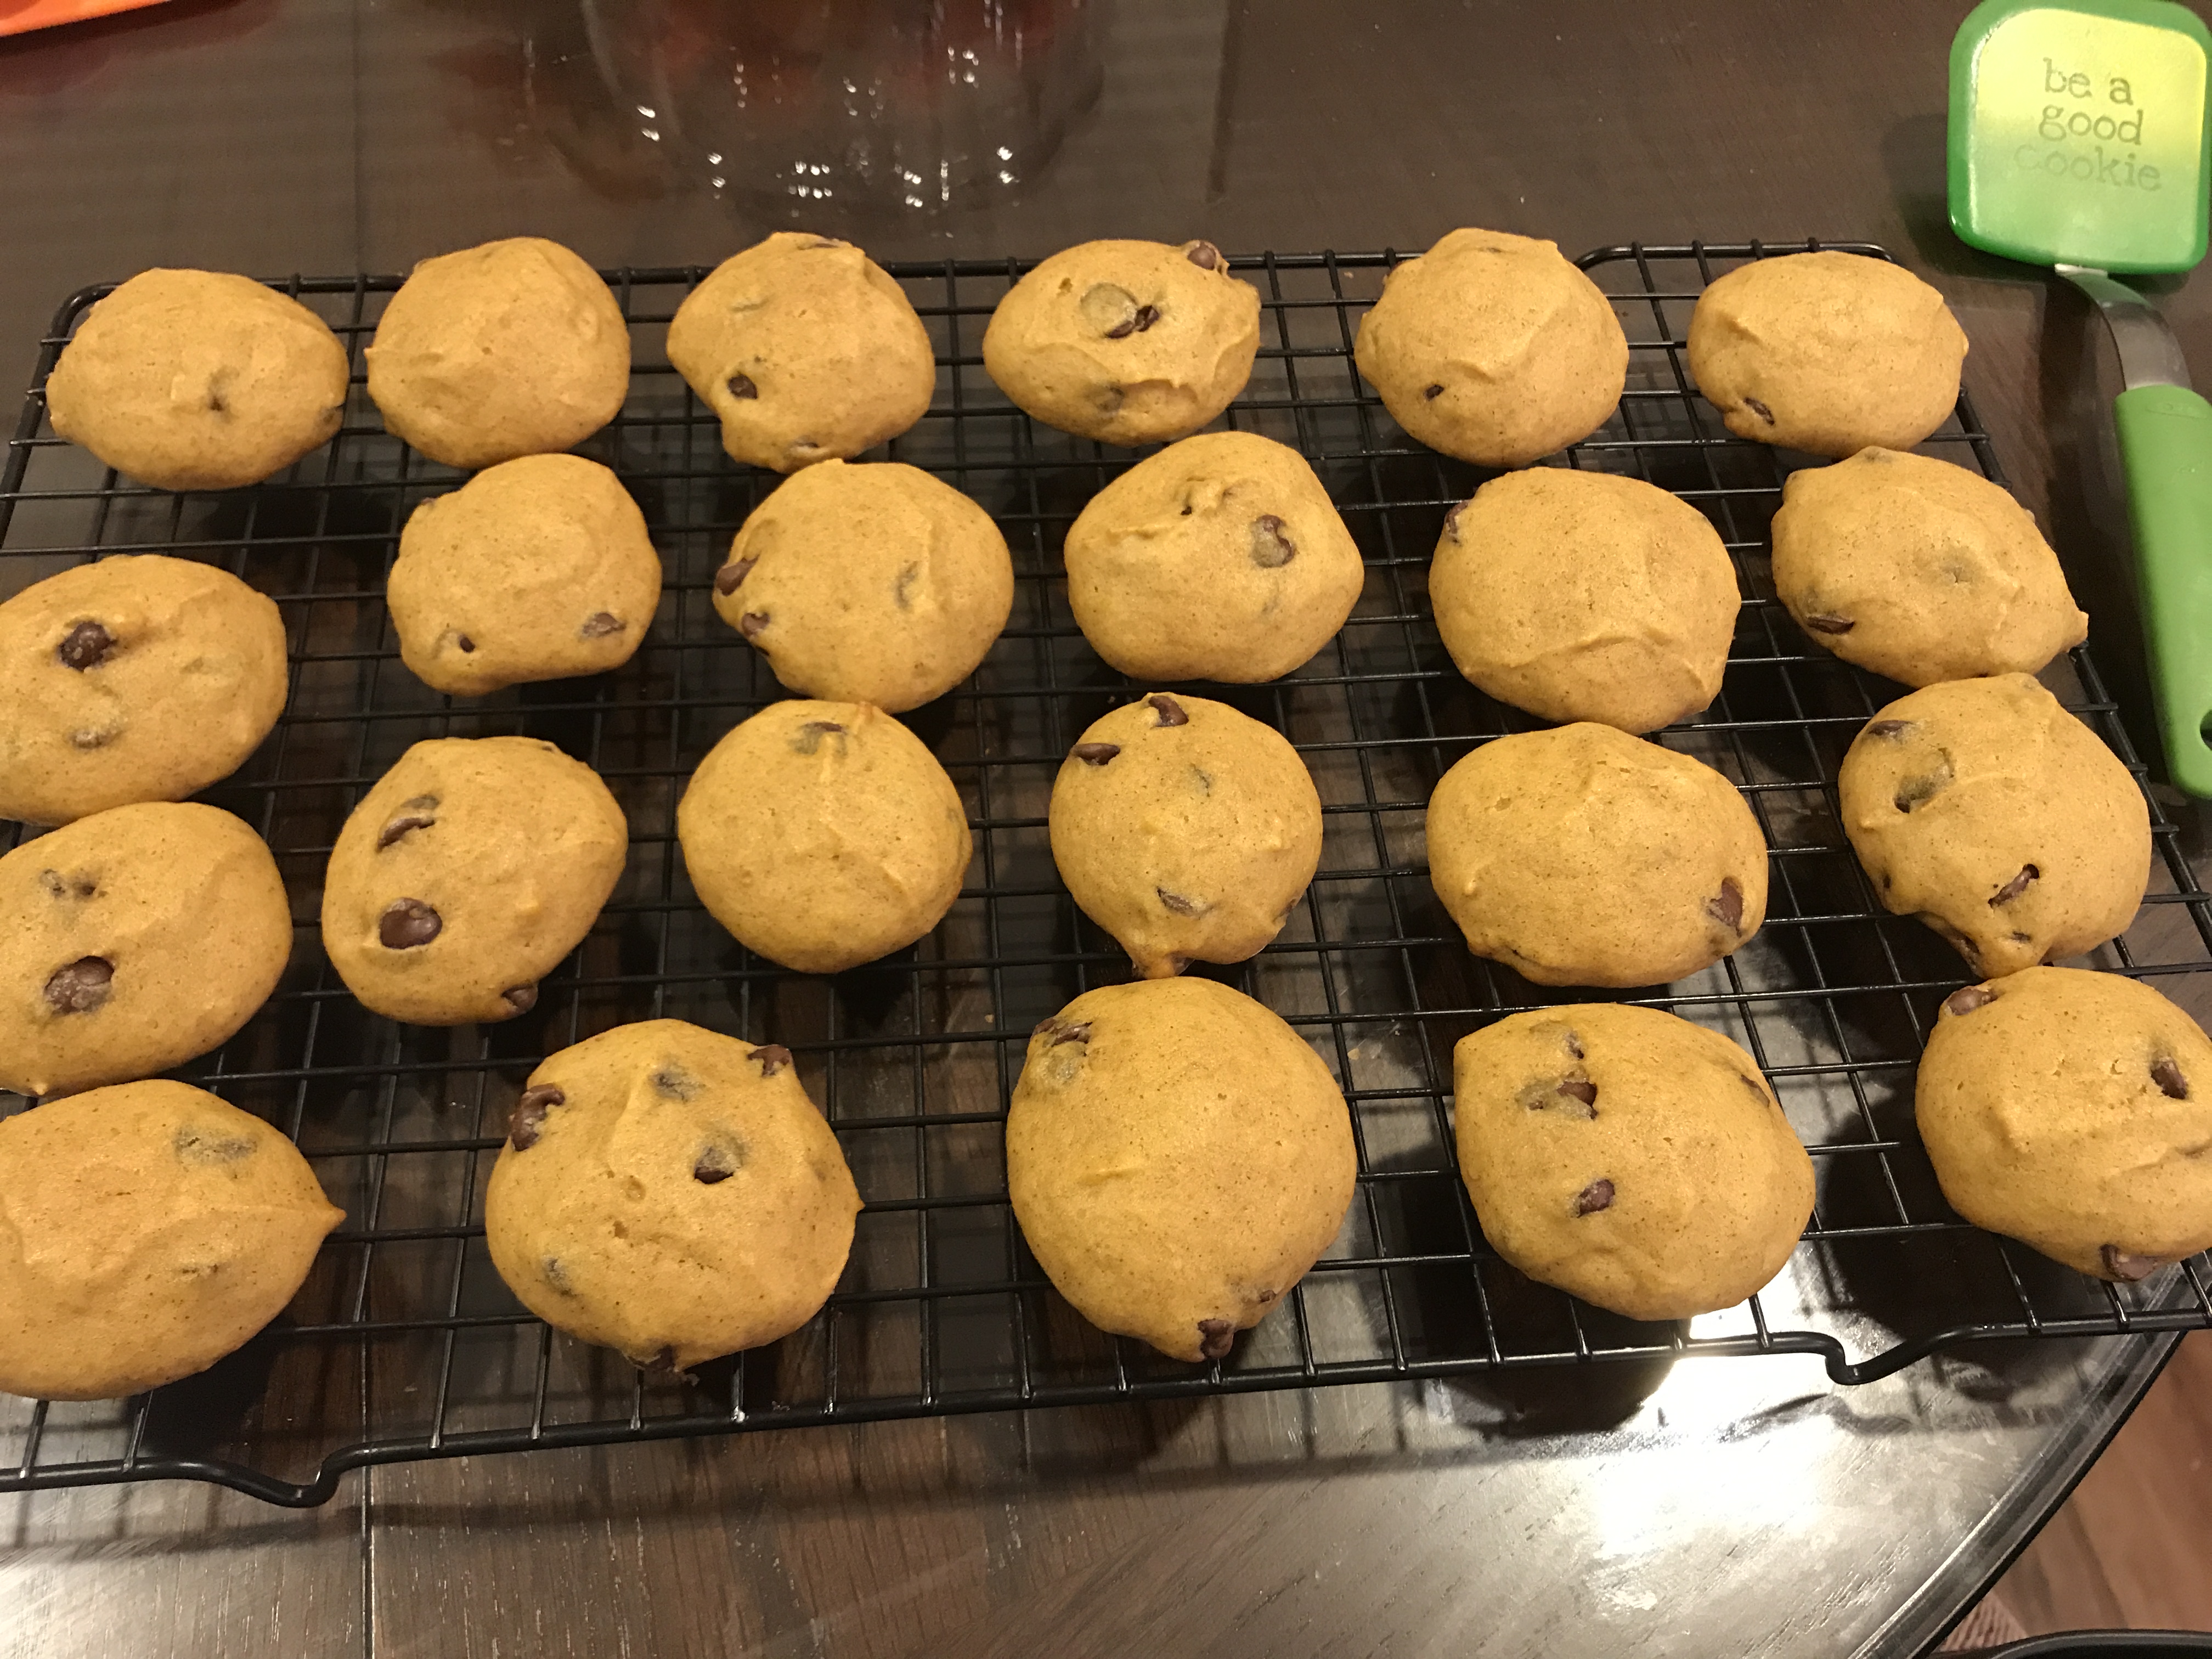
Be sure to transfer cookies to a handy cooling rack.


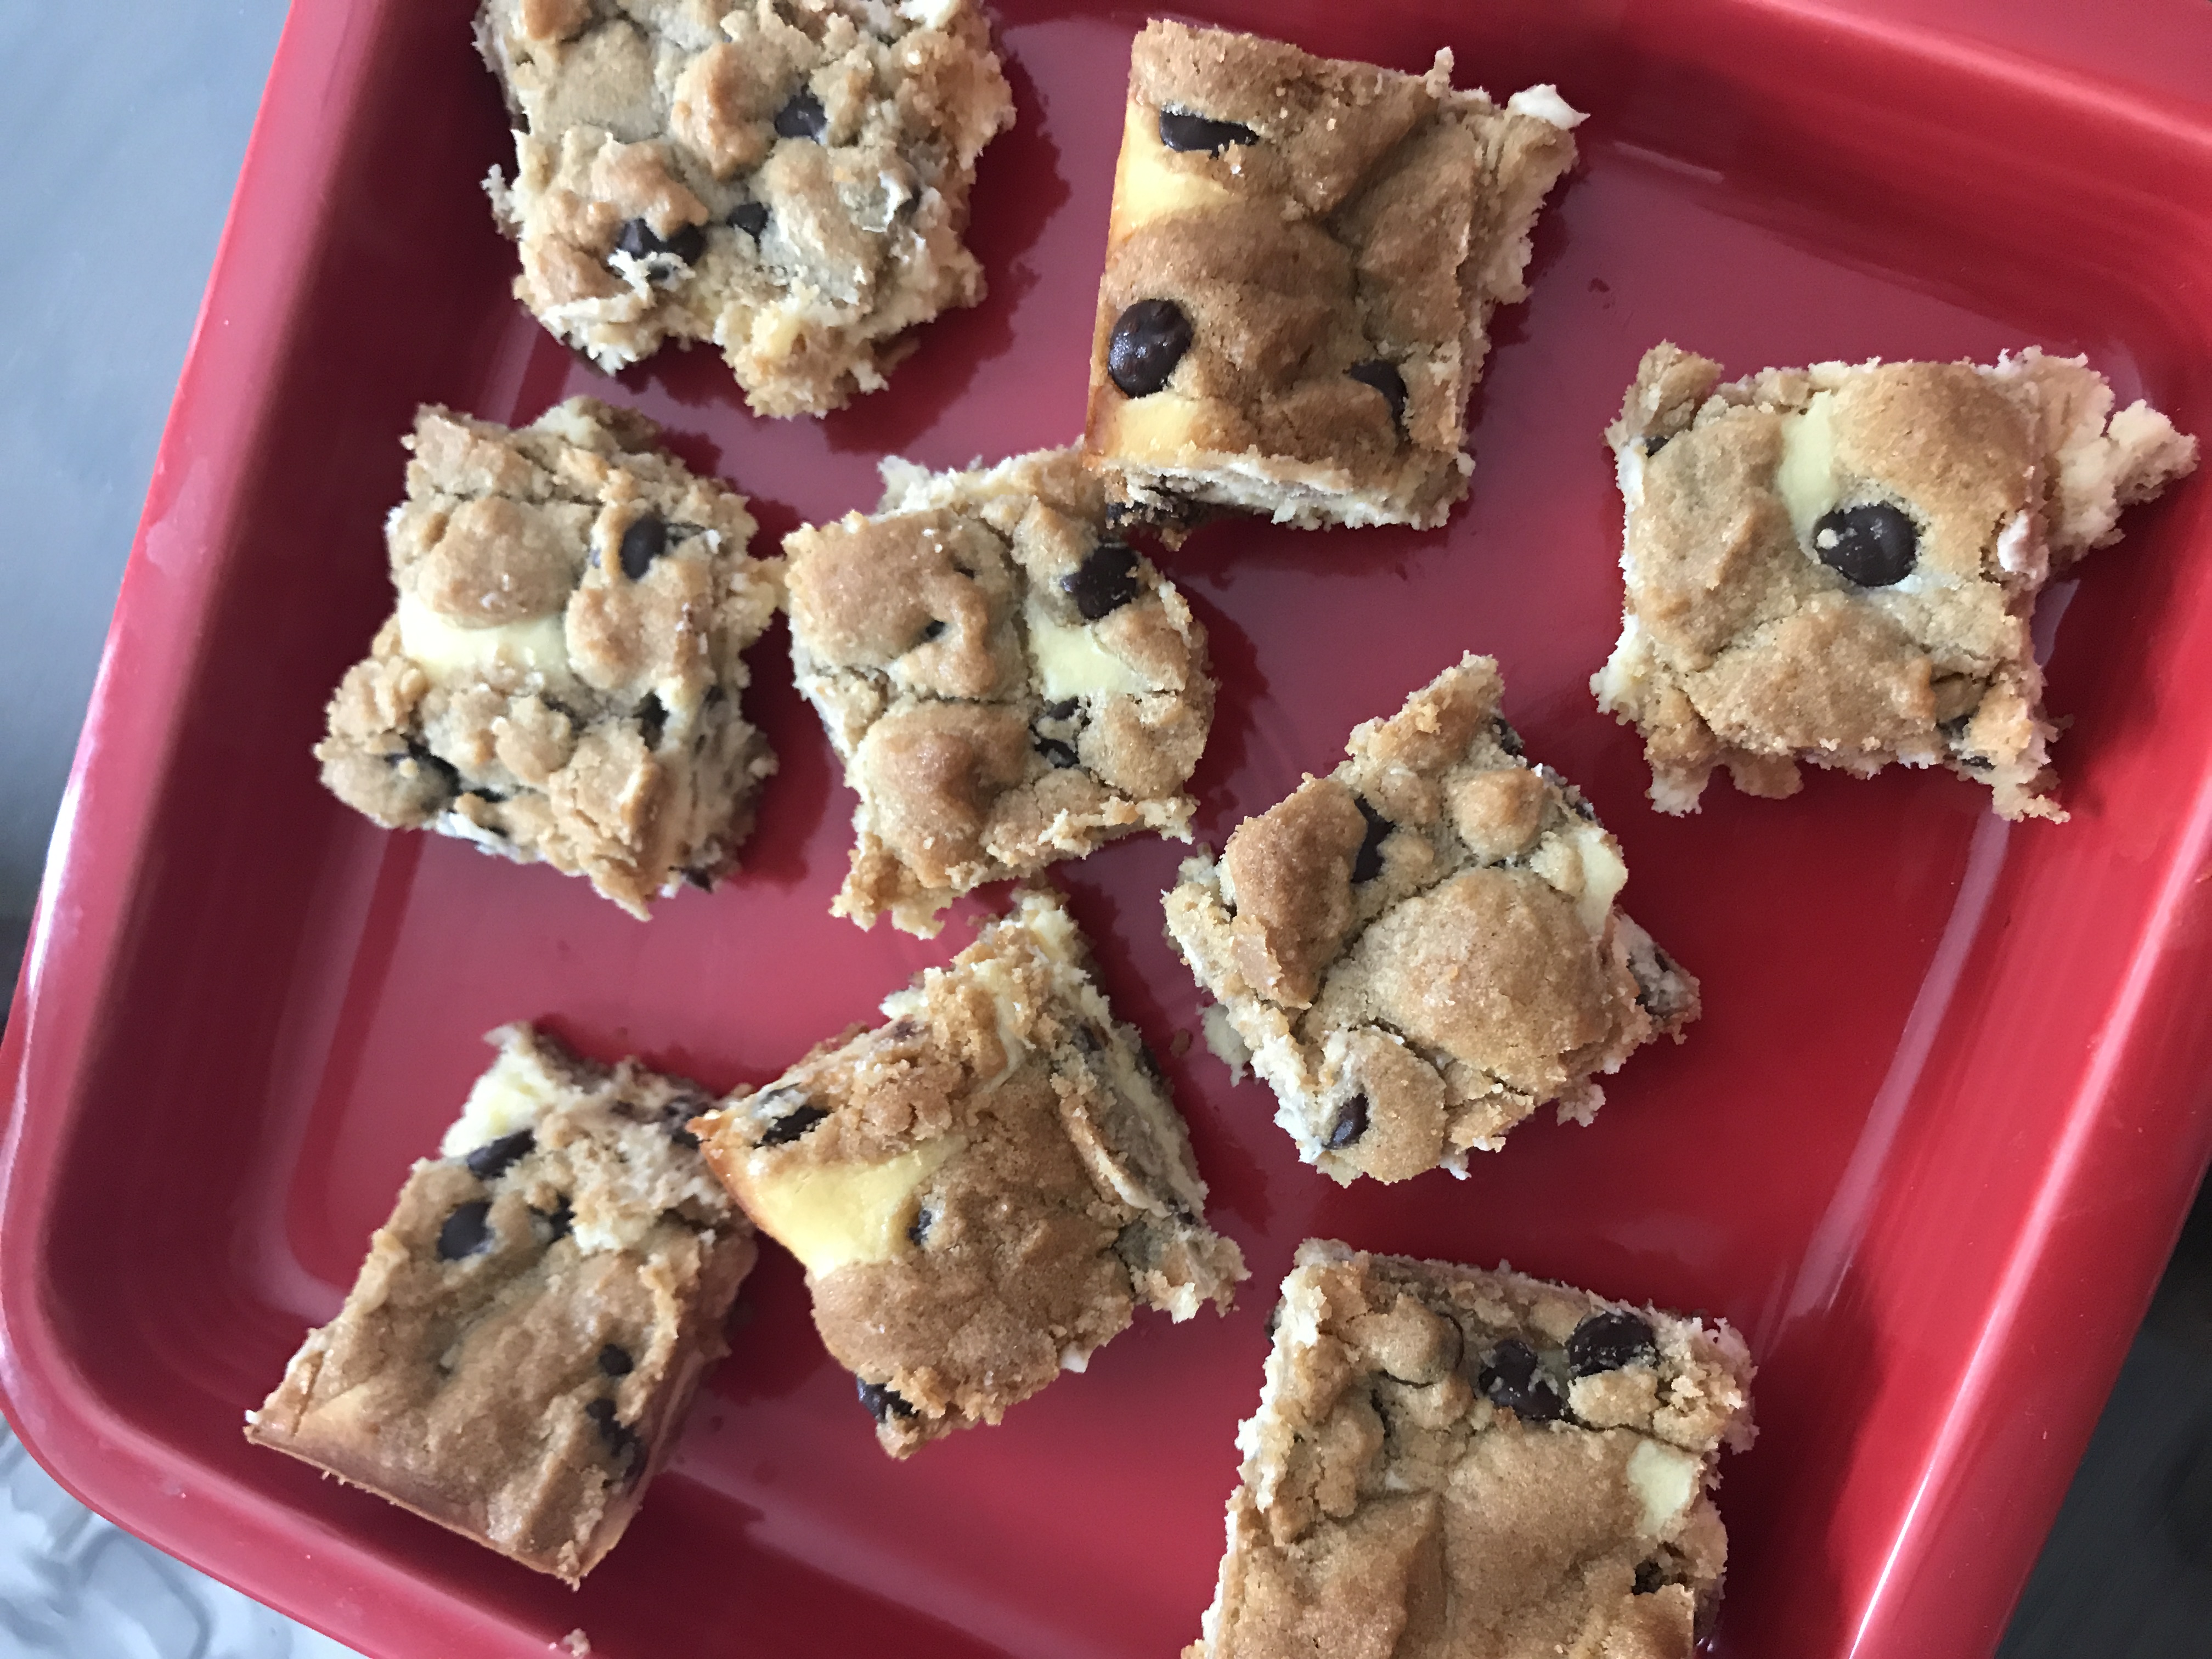
And now consume with a tall glass of milk like so!
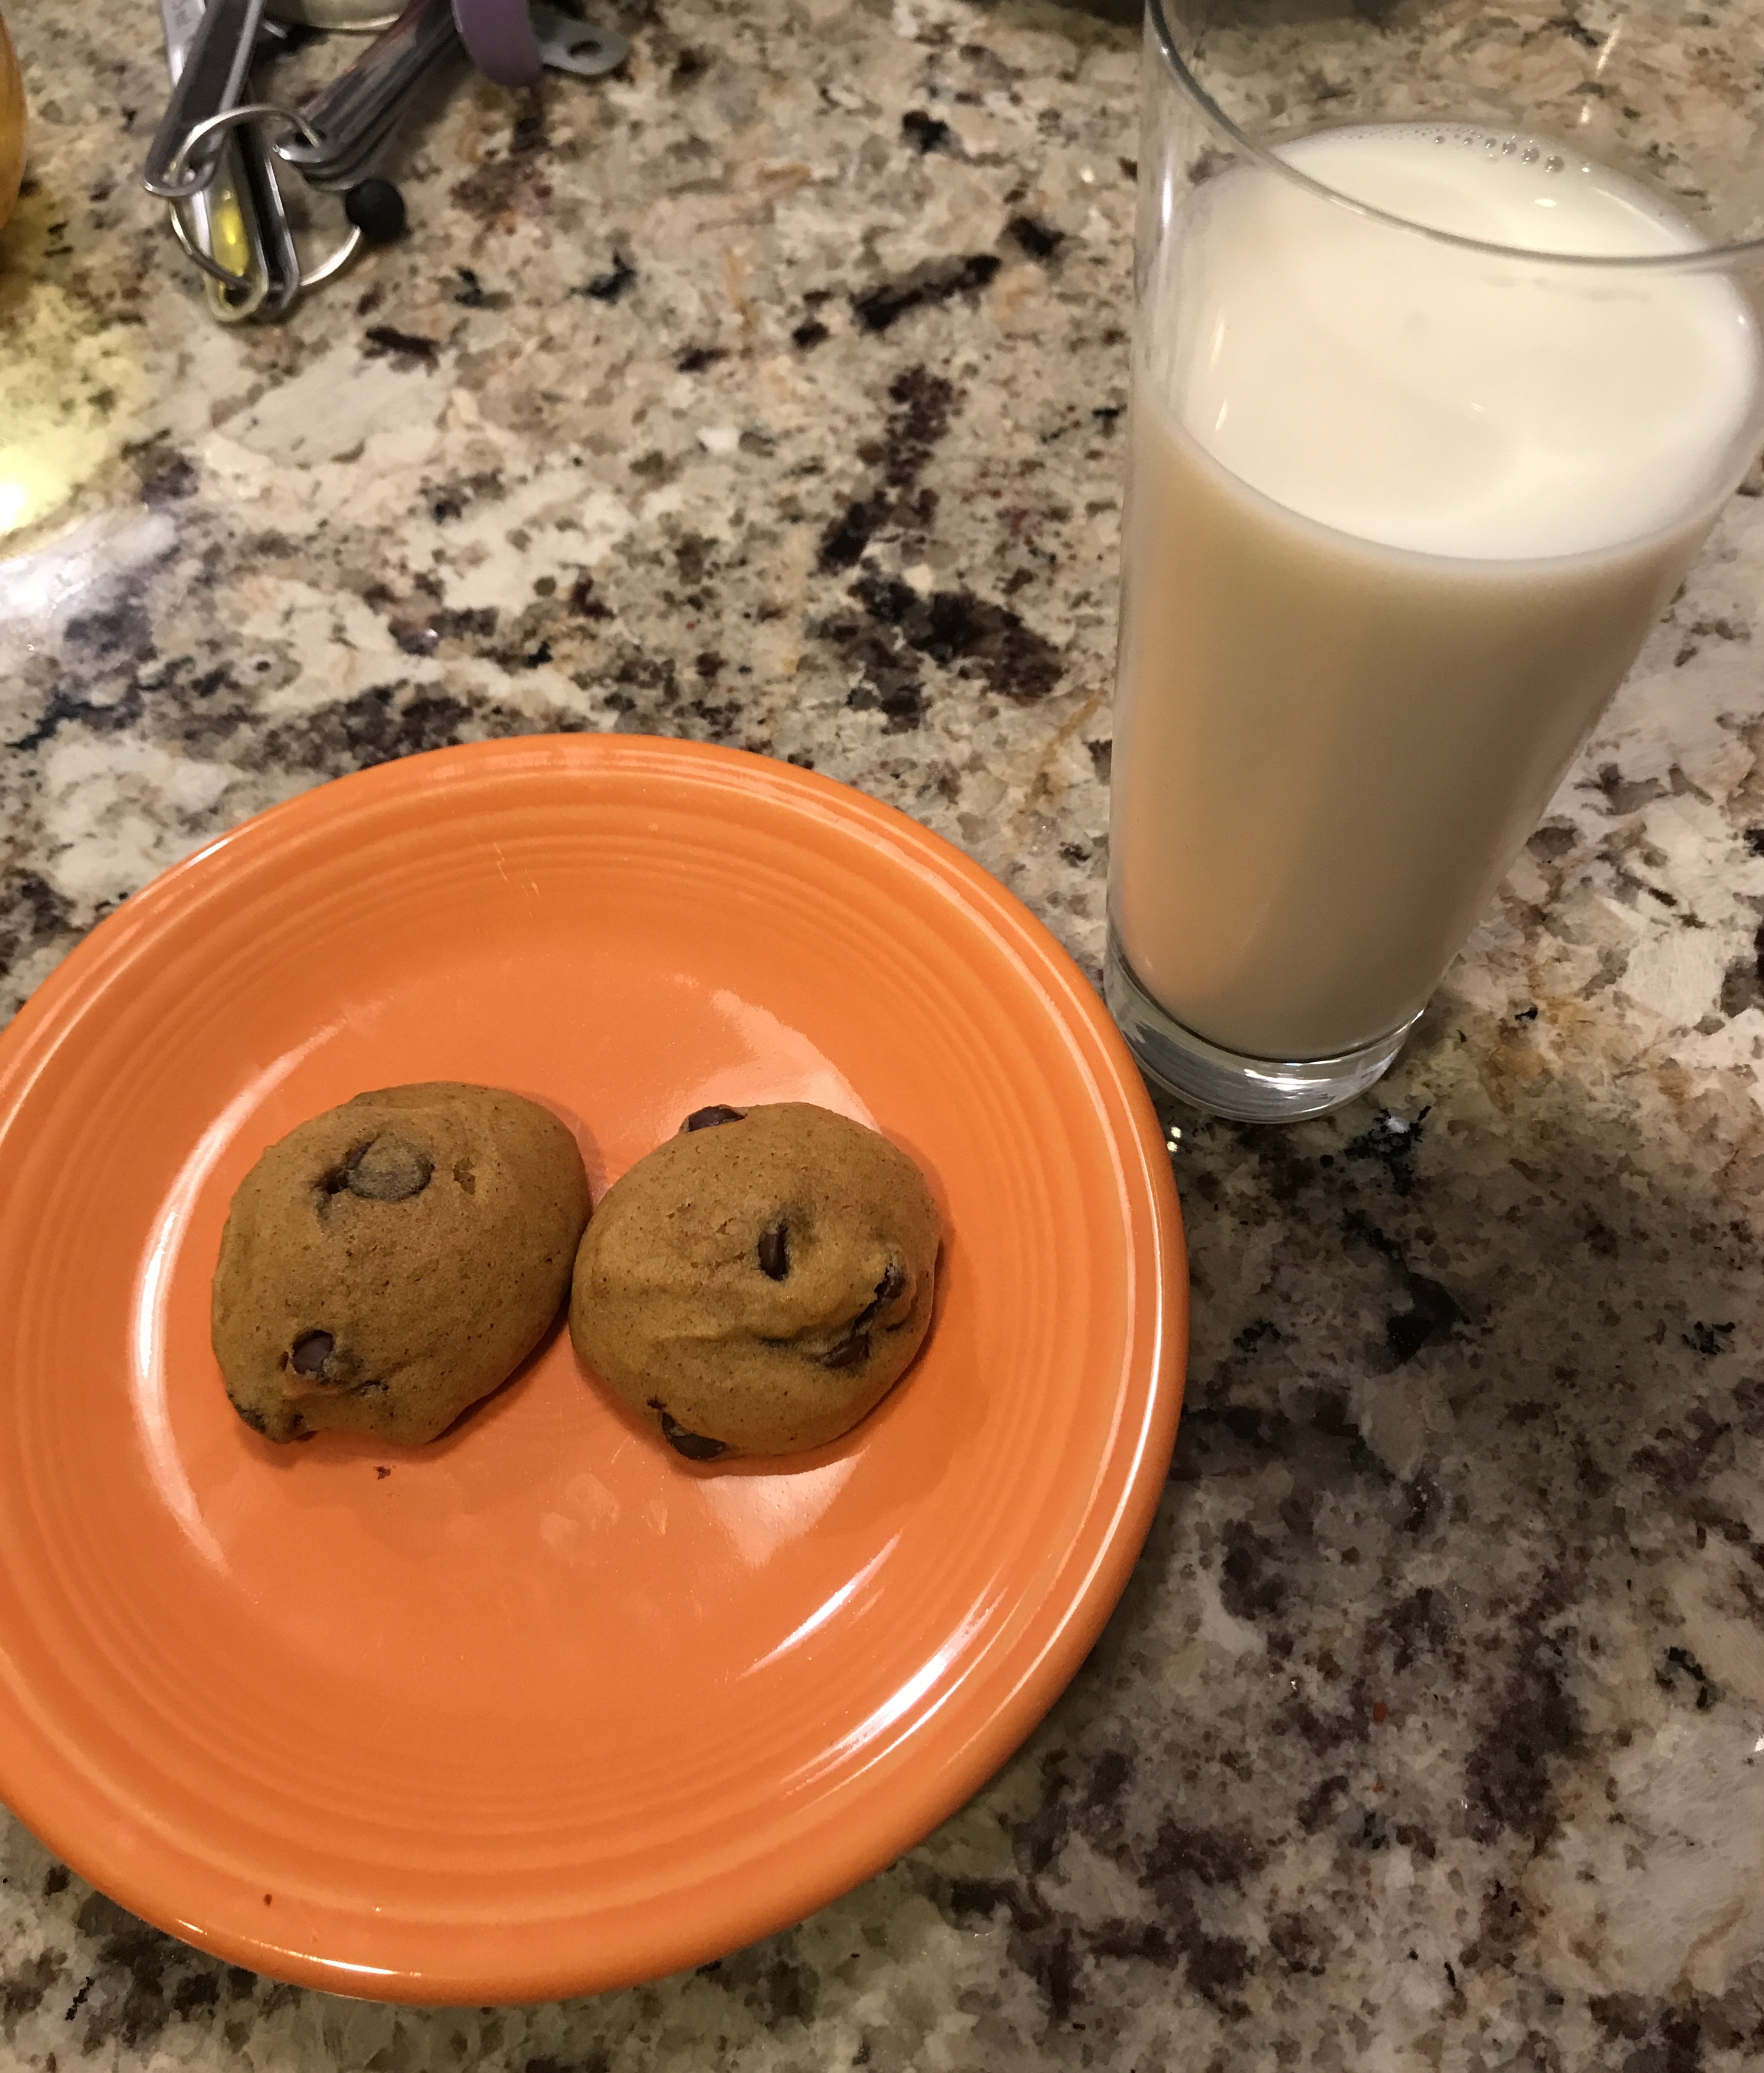
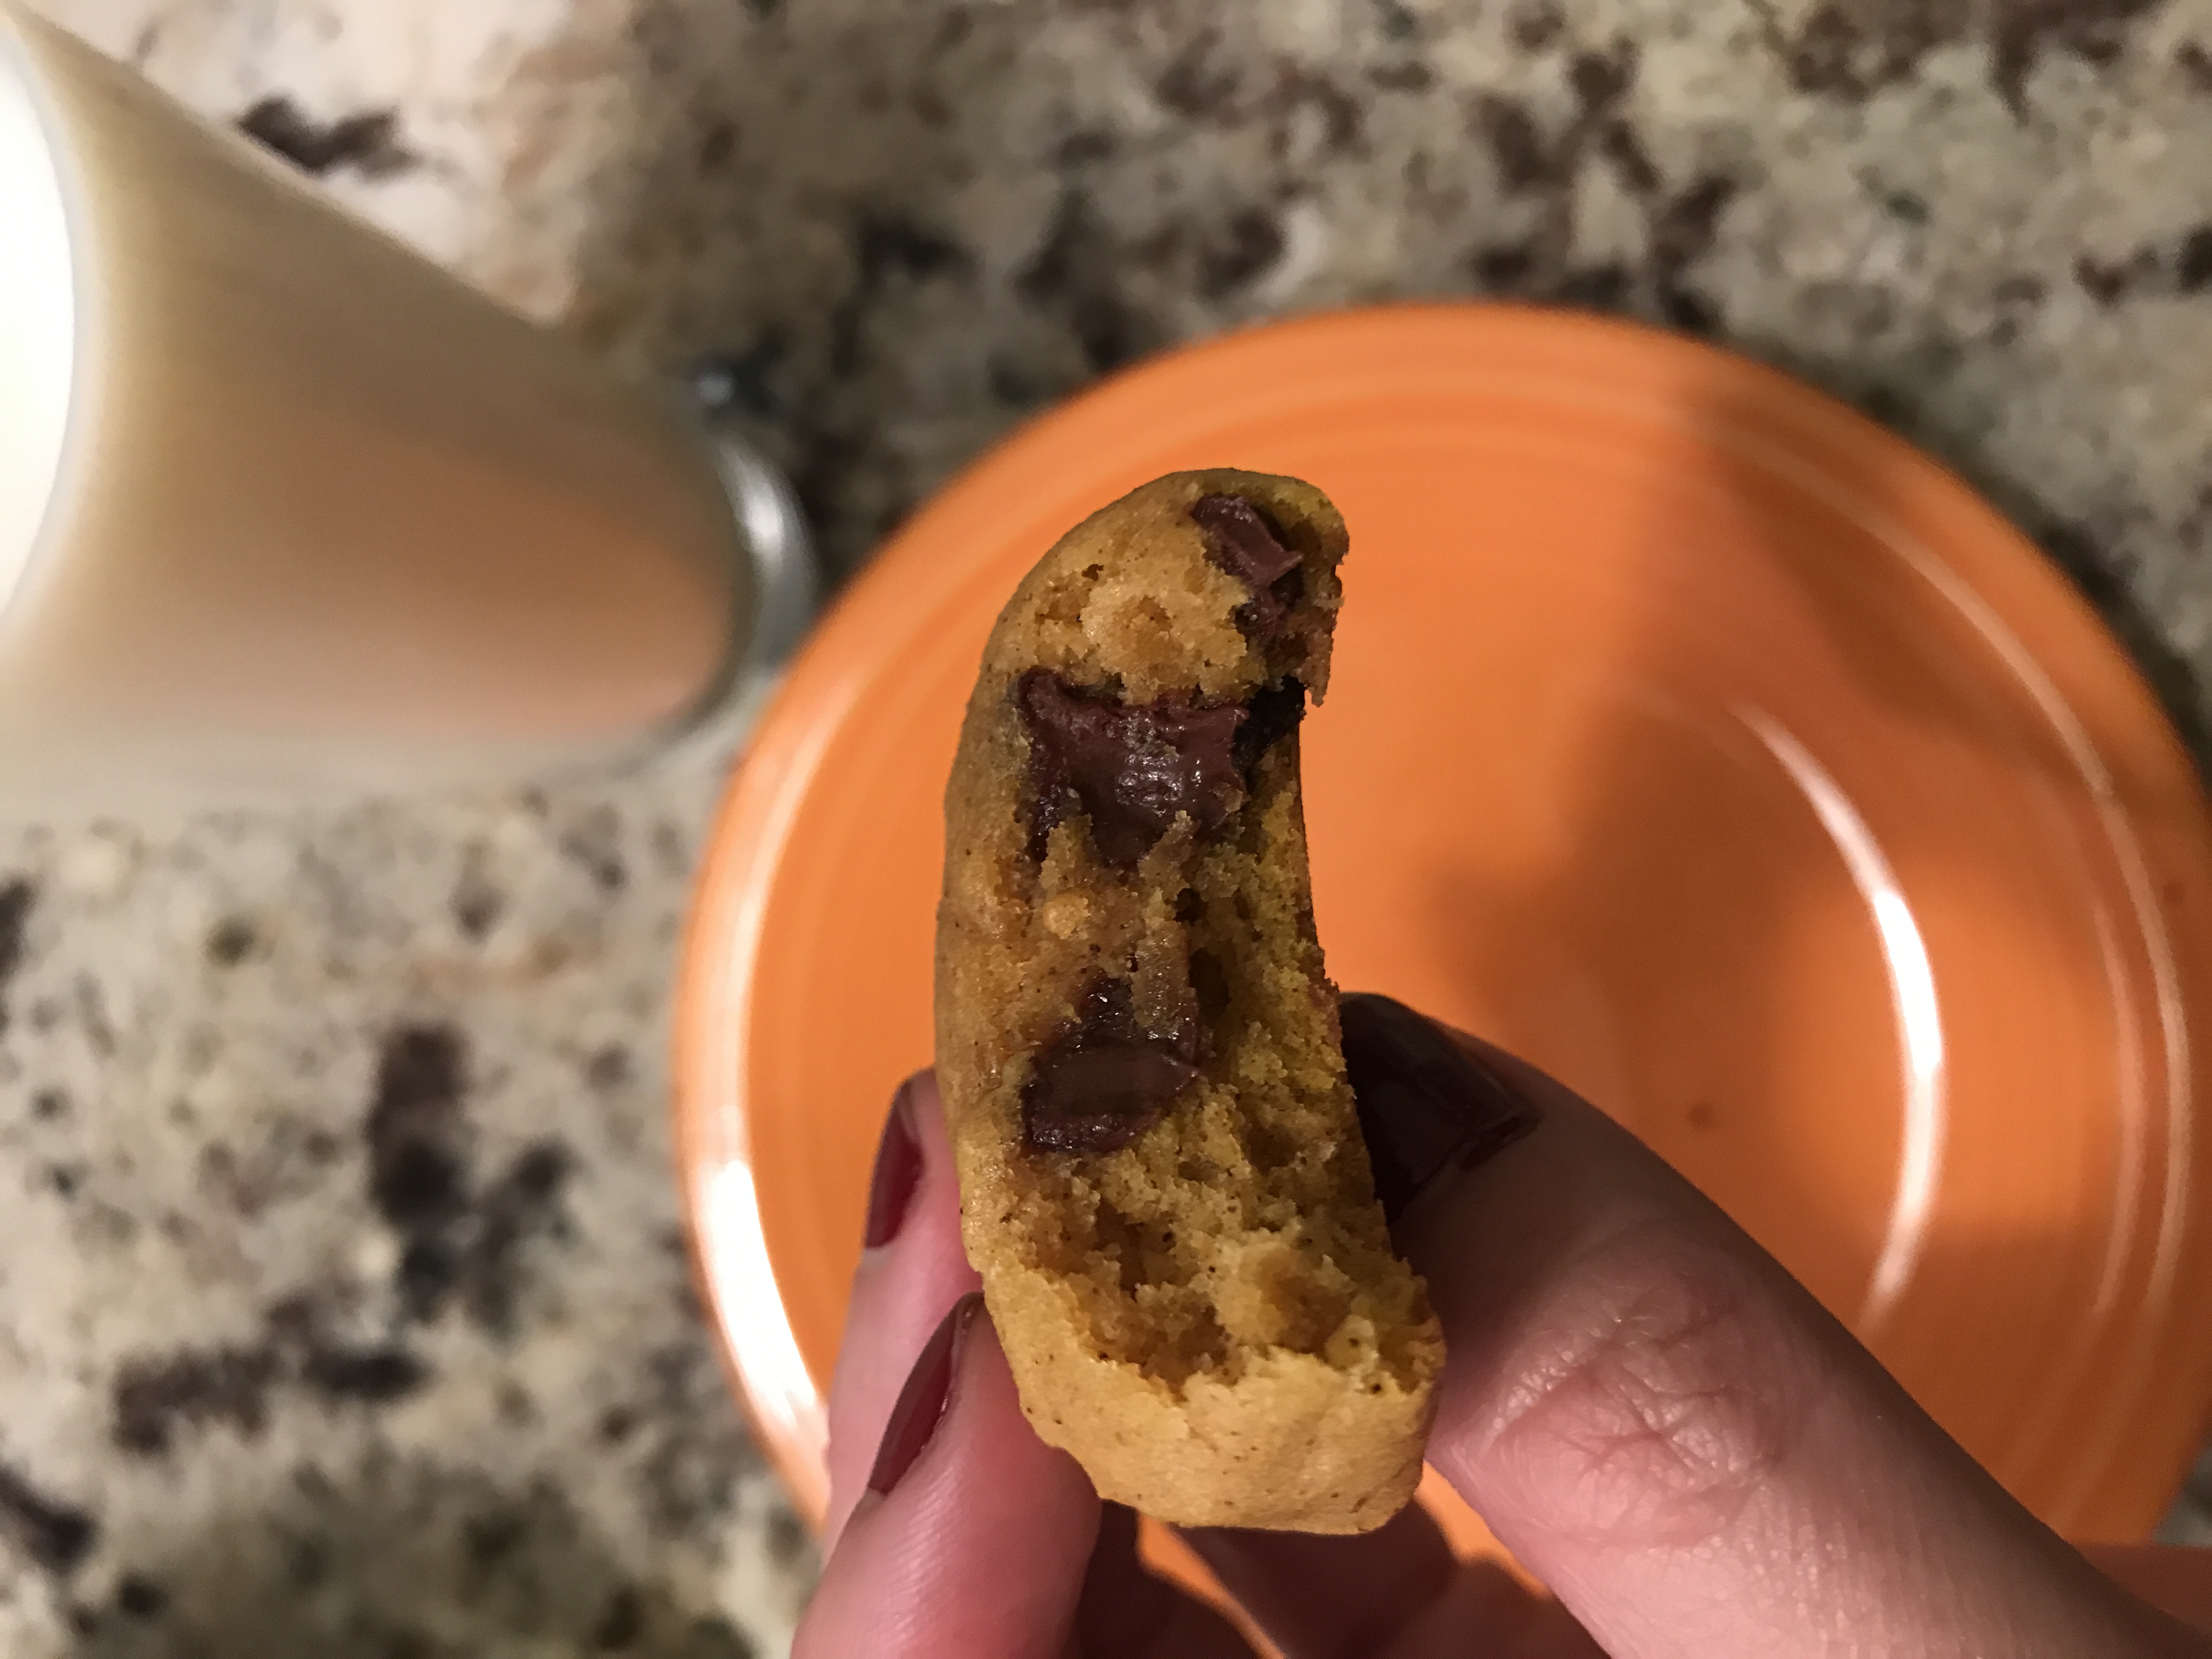
Delicious!

Just a side note about the essential tools for any baker picture. I grew up baking quite often because my Mom was an avid baker. An avid baker who never used a cookie scoop or silpat mats! I actually don’t know how her cookies used to come out so good because I feel like before I got these mats it was SO easy to burn my cookies, or have them come out flat, or not be able to figure out what the heck went wrong. Anyway, my point is that these items have really helped me to create perfect cookies.

The cookie scoop is really just handy, it’s not a necessity – my mom would use two spoons- but it’s faster to use a scoop and your cookies come out more uniform.

The silpat mats, though, are life changing in baking land. I love these for a couple of reasons. One, I never have to bother getting out the Pam to grease the cookie sheet. The mat is nonstick and really works! The second reason is that they make clean up a snap! You simply wipe down the mats with a wet sponge and the cookie sheets are protected and don’t even need to be cleaned. No more burnt on cookies. They are like magic and they last a while. I have one that is probably 5-6 years old that I feel like it is just now on it’s last leg (the nonstick is wearing out). I feel that is a good amount of time that it has lasted especially considering how much I use them.


Below are step by step instructions for easy reading for when you make these cookies!

  1. Preheat oven to 375°.
  2. Lightly grease cookie sheets.
  3. Mix together the sugar, pumpkin, oil, and egg in either a stand up mixer or with a hand held mixer.
  4. In a separate bowl, sift together the flour, salt, cinnamon, and baking powder.
  5. Slowly add the flour mixture to the sugar, pumpkin, etc mixture.
  6. In a small separate bowl, dissolve the baking soda, milk, and vanilla. Then add to the rest of ingredients in your main mixing bowl and blend well.
  7. Lastly, add the chocolate chips to the batter and stir in.
  8. Drop lightly onto your lightly greased cookie sheet.
  9. Bake approximately 10-12 minutes.***
  10. Cookies will be soft & moist!

Yields roughly 3 and a 1/2 dozen cookies.

*** I would first check these after 8-9 minutes. I did 9 minutes for my first couple of batches and then 8 for my last one. It’s always best to check a little early since burnt cookies are the worst! 😉

Do you like pumpkin flavored foods?! I sure do – but I wouldn’t say I’m a fanatic. I like pumpkin spice lattes, but not really pumpkin coffee so I would say I’m picky about the flavoring. Let me know in the comments what pumpkin seasonal foods are your favorites!


Hope you enjoy making and eating these as much as I do! 🙂

xo

Holly


Hi All!

I am back with a food review of one of my most favorite treats that came into my life in recent years: Mug Cakes (or Mug Treats as Betty Crocker is calling them)! I first discovered these through the Pioneer Woman, Ree Drummond, who is one of my favorite food bloggers and Food Network TV personalities.  She did a post a few years ago with a recipe for chocolate cake in a mug. I bookmarked it immediately and have made it quite frequently according to her instructions, although it’s even better if you add peanut butter! You can find her recipe here.

I was super excited when Duncan Hines came out with mug cake mix packages because why should I bother taking out my sugar, flour, etc. when I can just dump a packet in a mug and add a little water?? I have tried a few of these over the years and they were fairly tasty (although not as good as ones made from scratch), but I never realized Betty Crocker had a line of them until recently. I am more a Betty Crocker fan  than Duncan Hines so when I was shopping at Super Wal-Mart one day and saw a huge display featuring Betty Crocker mug cakes, I went a little hog wild and purchased four different ones to try! I’ve tried them all in the past couple of weeks and here are my findings:

********************************************************************


Betty Crocker Soft Baked Chocolate Chip Cookie with Fudge Topping

This was the first one I tried. This was only decent if you really want only one WARM cookie; otherwise just make a whole batch, because this was the worst one of the four. The fudge topping is just chocolate syrup and I suspect they only added this because the cookie was incredibly dry and the syrup helped to compensate for that. Since I don’t love chocolate syrup, I wasn’t a huge fan. I think chocolate frosting would have made a much tastier topping. Also, I paused from eating this for about 2 minutes and when I went back it was literally rock hard,so consume IMMEDIATELY after baking!


Betty Crocker Rainbow Chip Cake with Rainbow Chip Frosting

This one was my whole reason for buying all of these. I know Pillsbury’s Funfetti gets the most love in the general population of birthday cake fan favorites or at least seems to be the most well-known, but Rainbow Chip is my favorite boxed cake mix. I like Funfetti, but I LOVE Rainbow Chip. I think the frosting and cake are both superior to Pillsbury’s Funfetti. Therefore, I was SO excited to try this mug cake!

Yet, I was disappointed in the taste of this– it’s really not a little piece of heavenly Rainbow Chip cake! 🙁 The only thing I kept thinking while eating it was how much better the actual cake is! This cake itself was a little dry and did not have the same scrumptious taste of boxed Rainbow Chip cake; it definitely fell flat in the taste category. The best part was the frosting packet, which was exactly Rainbow Chip frosting and delicious. The frosting helped to elevate the cake to somewhat yummy status, but there wasn’t enough of it included and the cake itself was really lacking moisture. This was really just ok and I wouldn’t eat it again unless I had a craving and for some reason couldn’t make a whole cake. Disappointing to say the least!


Betty Crocker Hot Fudge Brownie with Fudge Topping

OMG THIS WAS AMAZING. I made this on a dreary, rainy day after I had just gotten home from work and it really made the afternoon SO much better!! The fudge topping tasted exactly like chocolate frosting and it really took the brownie to a new tasty height. I also added whipped cream because – well why not? – and it was all so delightful. The brownie itself was fudgy with a good amount of moisture.  I wouldn’t say it was as good as a brownie from a whole boxed mix, but the frosting made it 10x better. This was SO GOOD and I literally devoured it. If you purchase any mug cakes, get this one!

Snapped a quick pic before inhaling this brownie!


Betty Crocker Triple Chocolate Cake with Fudge Frosting

When I made this I was wondering if it would really taste much different from the fudge brownie. The short answer: Yes, it did. I found this one to be way too rich to eat more than a few bites, and I consider myself to be a fairly big chocolate lover.  The cake itself was moist and has little mini chocolate chips in it. The fudge frosting was good, but it also made it super sweet and heavy when the cake itself is already fairly rich. I think I would have preferred a vanilla frosting to cut down on the chocolate overload and add a different flavor. I only ate half of this because it was so sweet. This one is definitely reserved for serious chocoholics only.


My Final Thoughts:

First, the hot fudge brownie is the BEST and the only one that I would repurchase. My second takeaway is that you really need to know your microwave before heating these up. A second or two over and these mug cakes are basically garbage because they are too dry. My microwave tends to cook everything quickly so if the directions said to microwave for 1 minute, I cut it to 55 seconds. I think in some cases a few seconds less would have probably been better. The third thought is my annoyance with Betty Crocker over the names of these mug cakes, for example both the chocolate chip cookie and brownie are advertised as coming with fudge topping. The fudge topping in the brownie mix is frosting and the fudge topping in the chocolate chip cookie is chocolate syrup. I suppose I will chalk it up to poor marketing management over at General Mills!


Have you tried mug cakes before? Hope everyone enjoyed my reviews as much as I enjoyed tasting them all! 🙂


xo

Holly

I spend a good chunk of my time thinking about food and recipes. I do all of the cooking in my house so I am constantly thinking about what to cook and eat next. So today, I am sharing a couple of recipes and recent food reviews of a couple of things I’ve tried recently. Hope you enjoy reading about them!

Food Reviews:

  1. Lays Ketchup Chips

Full disclosure: I LOVE KETCHUP. I’m that person that needs roughly 10 ketchup packets for a small fry at McDonald’s. So needless to say, I’ve been waiting years for these chips to be made! So I was REALLY excited to see these in my local grocery store AND on sale. Seconds after I put away all of my groceries, I ripped the bag open to try these and I was actually shocked to find that I did not love the first bite! Totally let down! I was overwhelmed by this intense taste of tomato, vinegar, and what seemed to be paprika. (A quick flip of the bag to view the back and scan the ingredients did confirm that paprika is in the chips.) I was so saddened about not loving them immediately that I kept eating my feelings and then strangely enough, as I kept tasting them, I realized that I was beginning to really enjoy them. After about 3-4 bites, the taste no longer felt intense but most enjoyable and flavorful and several handfuls later I told myself to get out the chip clip and put them away. It took me less than week to polish off this bag and I will definitely be repurchasing, but I think this is probably a chip you would only like if you already enjoy ketchup.


2. Thomas’ Maple French Toast English Muffins


English Muffins are a staple in my house and Thomas’ is definitely my favorite brand of them – I think the nooks and crannies are delightful. I also love all things maple flavored, so when I spotted these in Target, I snapped them up to try. For my first time trying these, I simply toasted and added butter. Although it was good, I would say they were maybe a tad too sweet for me to just eat for breakfast. It hit me later in the day that I should have used it as the bread of an egg sandwich. The next day I made an egg and cheese sandwich on it and it was delicious – the combination of the sweetness of the muffin and savory in the egg and cheese was a win-win in my book. I’m certain it would be even better with bacon or sausage added to it, because what isn’t?

I would definitely buy these again. The only downside to Thomas’ english muffins is the price. I have NO IDEA why they charge $4.50 for ONE PACK of english muffins. Even though generic english muffins are not good, I only buy Thomas’ when on sale. These were good but not good enough for me to pay full price. (However, I did recently see these at Walmart for the low price of $2.28!)

Recipes:

Next, I’m sharing two of my favorite meal and dessert recipes. I’ve made both of these recipes countless times and they are always crowd pleasers! The first one is from the Food Network website by the Barefoot Contessa, Ina Garten. Her recipes are always really tasty so I frequently browse her recipes and bookmark them.

This Summer Garden Pasta recipe is absolutely delicious and really easy to make. The only hard part is that you need to remember to cut and soak the tomatoes for 4 hours before putting the rest of the dish together. I try to plan my meals out for the week and then just set myself a phone reminder to soak these tomatoes by early afternoon on the day that I want to make this meal. This recipe also calls for fresh basil leaves, but when basil isn’t in season (or I’m feeling lazy) I just use about half a tube of this Basil Stir In Paste (you can find in the produce section in your local grocery store.) It tastes just as good and it’s much less work!

I make this for dinner but it would also be a great side dish. I honestly can’t stop eating it once I make it so I just use this as a whole meal and serve it with some Texas Toast. Make sure to follow all the recipe’s directions, including adding a lot of salt to the pasta water, as it really does enhance the end flavor of the dish.

Combine the cherry tomatoes, 1/2 cup olive oil, garlic, basil leaves, red pepper flakes, 1 teaspoon salt, and the pepper in a large bowl. Cover with plastic wrap, and set aside at room temperature for about 4 hours.

Just before you’re ready to serve, bring a large pot of water with a splash of olive oil and 2 tablespoons salt to a boil and add the pasta. Cook al dente according to the directions on the package (be careful – it only takes 2 to 3 minutes!). Drain the pasta well and add to the bowl with the cherry tomatoes. Add the cheese and some extra fresh basil leaves and toss well. Serve in big bowls with extra cheese on each serving.

*****************************************************************************

This second recipe is one of my favorite desserts to make. First, I try to always keep packaged chocolate chip cookie dough in my fridge all the time. I just find it is always handy to have because eventually I will either a) want cookies and not want to leave the house, b) want cookie dough and not want leave the house, or c) need it to make a dessert for some cookout, party, etc. It lasts a couple of months unopened in the fridge and I try to make a mental note to remember the date and use it before hand.

A few weeks ago I realized I had some in my fridge that I hadn’t yet used and decided to make my favorite thing out of it – chocolate chip cheesecake bars. This is a Pillsbury recipe and I find that Pillsbury.com always has really quick and easy recipes. This one has got to be the best dessert one in terms of taste and simplicity. It is literally 4 ingredients and only requires the use of hand mixer! The hardest part is remembering beforehand to thaw out the cream cheese, but you could always zap it in the microwave if you had to. These are super easy to make and always go quickly. I like to chill them all the way up until right before serving because they become gooey easily if it is hot out. Hope you enjoy them as much as I do 🙂

Chocolate Chip Cheesecake Bars by Pillsbury

Ingredients

1 package (8 oz.) cream cheese, softened

½ cup sugar

1 egg

1 roll (16.5 oz.) chocolate chip cookie dough

*The Pillsbury recipe says that you can add coconut if desired. I love coconut, but I have never tried adding it in because I think it tastes so good as is. Why change perfection??

Steps

1.
 Heat oven to 350°F.

2. In a mixing bowl, beat cream cheese, sugar and egg until smooth.

3. In greased, 9- or 8-inch square pan, break up half of cookie dough. With floured fingers, press dough evenly in bottom of pan to form crust. Spread cream cheese mixture over dough. Crumble and sprinkle remaining half of dough over cream cheese mixture.

4. Bake 35 to 40 minutes or until golden brown and firm to the touch. Cool 30 minutes. Refrigerate at least 2 hours or until chilled. For bars, cut into 4 rows by 4 rows. Store in refrigerator.

In the original recipe, it says to leave the pan ungreased. I NEVER do this. Every time I try to follow recipe directions and leave the pan ungreased, I am left cursing under my breath as I scrap the sides of the pan while trying cut out said baked good. So, I always grease the pan using this Pam Baking Spray With Flour which smells like heaven (re: freshly baked cake) and I am a huge fan of.

Bon Appétit!! It’s time to eat 🙂


Pin It